目錄
- Pytorch版本介紹
- ✨安裝 NVIDIA 顯卡驅(qū)動(dòng)程序
- ✨確認(rèn)項(xiàng)目所需torch版本
- ✨安裝 CUDA
- ✨安裝cuDNN
- ✨安裝PyTorch
- ✨確認(rèn)環(huán)境是否配置成功
- ✨參考及引用
Pytorch版本介紹
- torch:1.6
- CUDA:10.2
- cuDNN:8.1.0
✨安裝 NVIDIA 顯卡驅(qū)動(dòng)程序
一般 電腦出廠/裝完系統(tǒng) 會(huì)自動(dòng)安裝顯卡驅(qū)動(dòng)
如果有 可直接進(jìn)行下一步
下載鏈接
http://www.nvidia.cn/Download/index.aspx?lang=cn
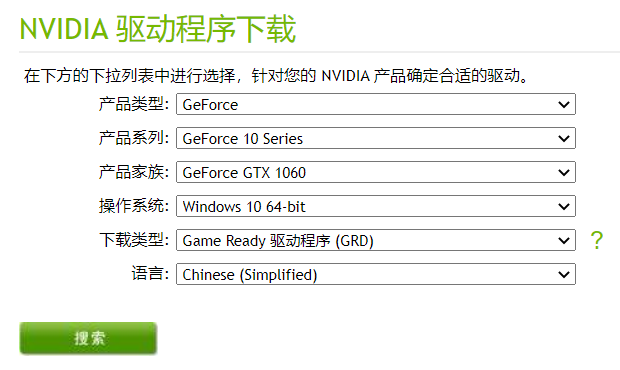
選擇和自己顯卡相匹配的顯卡驅(qū)動(dòng)
下載安裝
✨確認(rèn)項(xiàng)目所需torch版本
# pip install -r requirements.txt

# base ----------------------------------------
Cython
matplotlib>=3.2.2
numpy>=1.18.5
opencv-python>=4.1.2
pillow
PyYAML>=5.3
scipy>=1.4.1
tensorboard>=2.2
torch>=1.6.0
torchvision>=0.7.0
tqdm>=4.41.0

# coco ----------------------------------------
# pycocotools>=2.0

# export --------------------------------------
# packaging  # for coremltools
# coremltools==4.0
# onnx>=1.7.0
# scikit-learn==0.19.2  # for coreml quantization

# extras --------------------------------------
# thop  # FLOPS computation
# seaborn  # plotting
例如此項(xiàng)目需求torch>=1.6
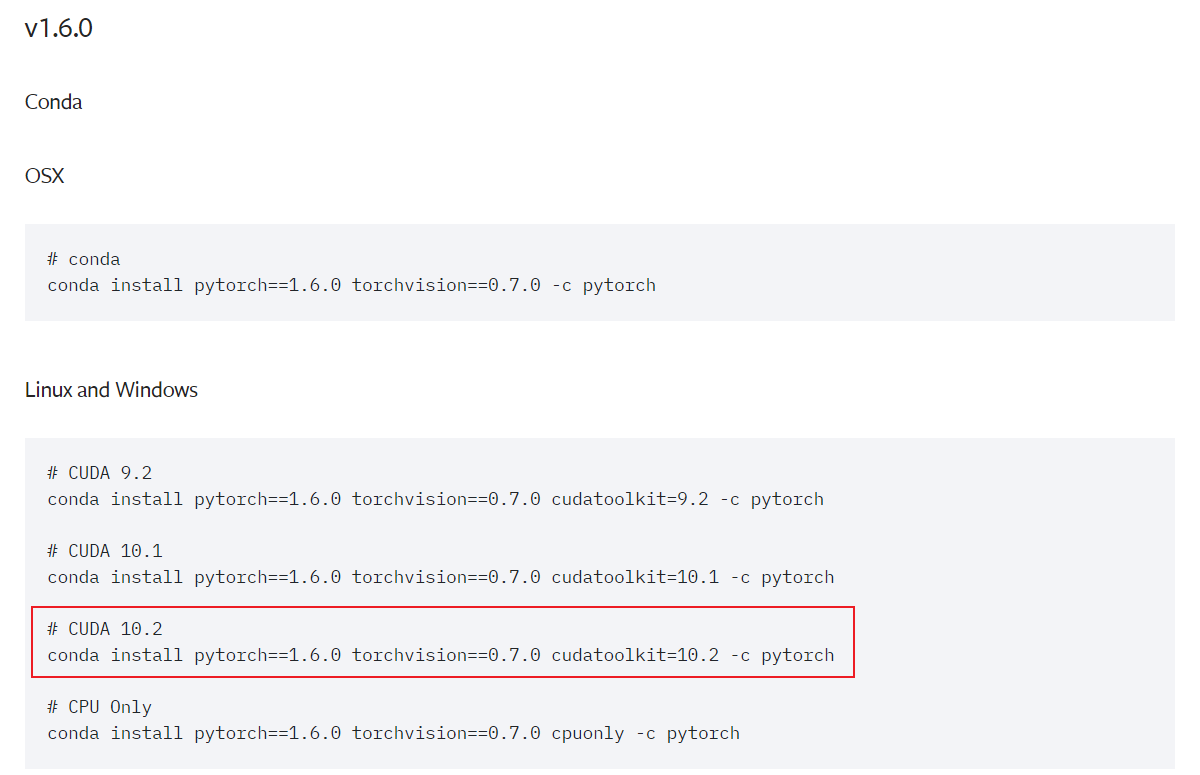
在PyTorch官網(wǎng)查看與之匹配的CUDA版本
https://pytorch.org/get-started/previous-versions/
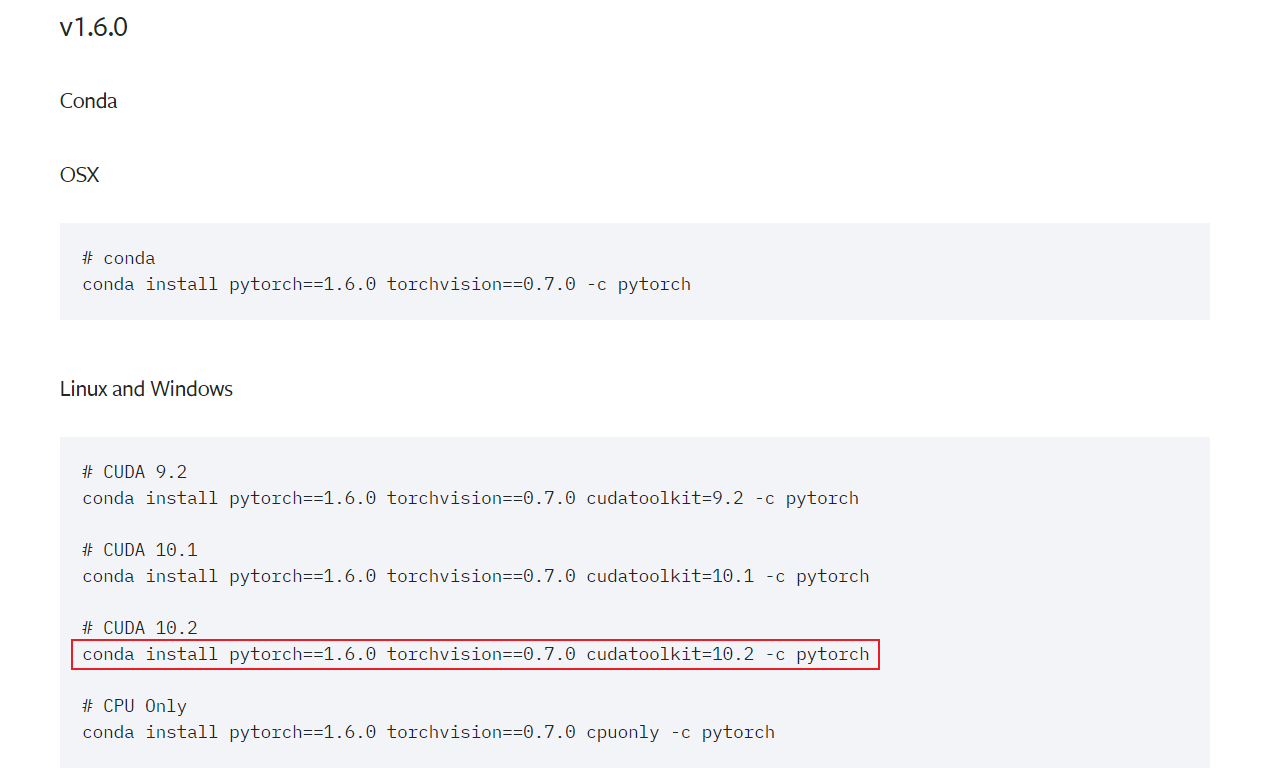
這里可以從conda命令看出 torch1.6 可以安裝10.2版本的CUDA
torch與CUDA版本一定要匹配!
✨安裝 CUDA
NVIDIA控制面板 -> 幫助 -> 系統(tǒng)信息 -> 組件
查看NVCUDA.DLL 后的參數(shù)
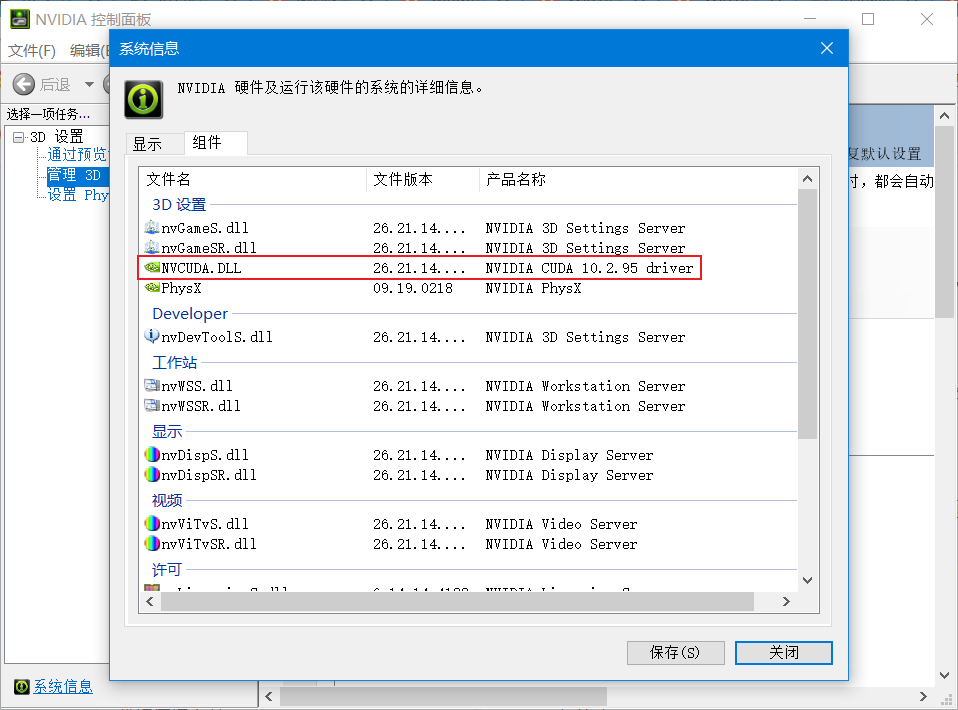
本機(jī)是10.2
//如果更新了顯卡驅(qū)動(dòng)這里參數(shù)可能會(huì)變高
下載的CUDA版本可以低于這里顯示的參數(shù) 但是一定要與torch版本匹配
下載
下載鏈接:https://developer.nvidia.com/cuda-downloads
//上面的鏈接默認(rèn)下載的是最新版本的CUDA
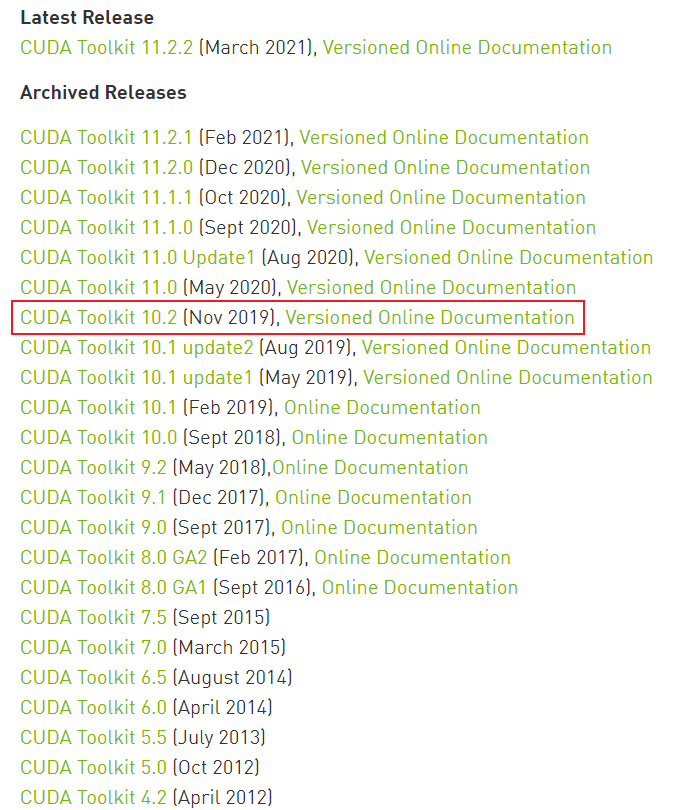
要下載之前版本的CUDA在上述下載頁(yè)面下滑 然后點(diǎn)擊 ”CUDA早期版本檔案”
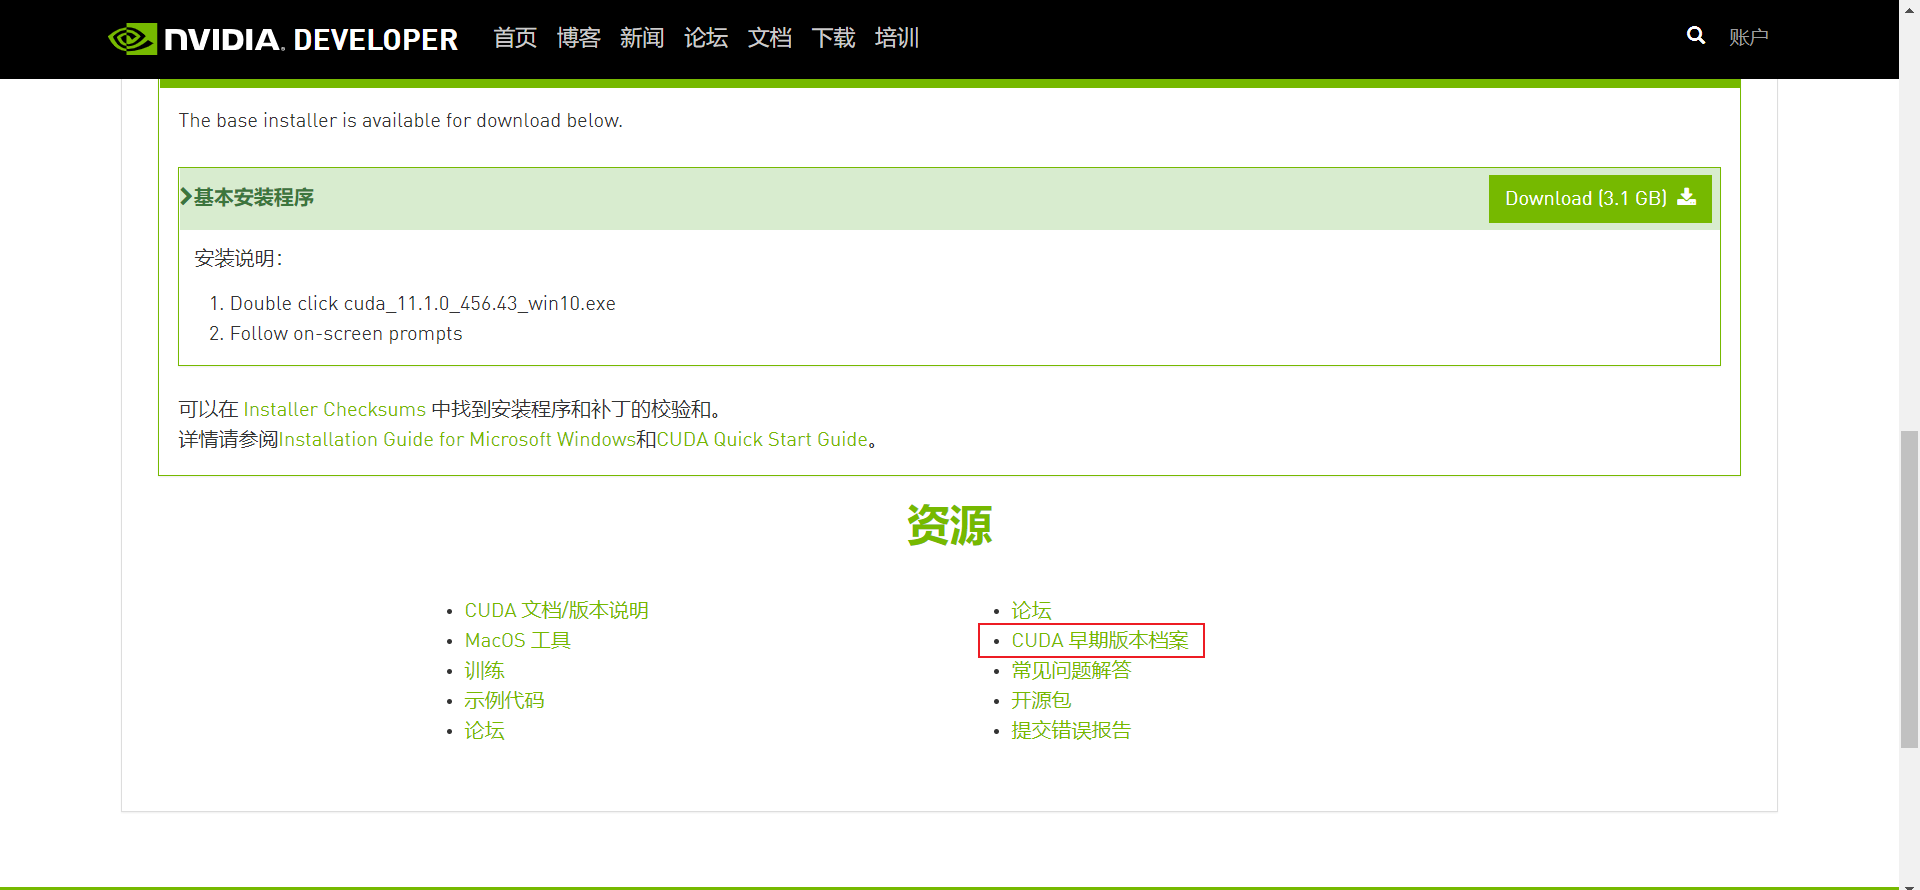
或者直接點(diǎn)擊CUDA早期版本檔案 跳轉(zhuǎn)
選擇CUDA Toolkit 10.2
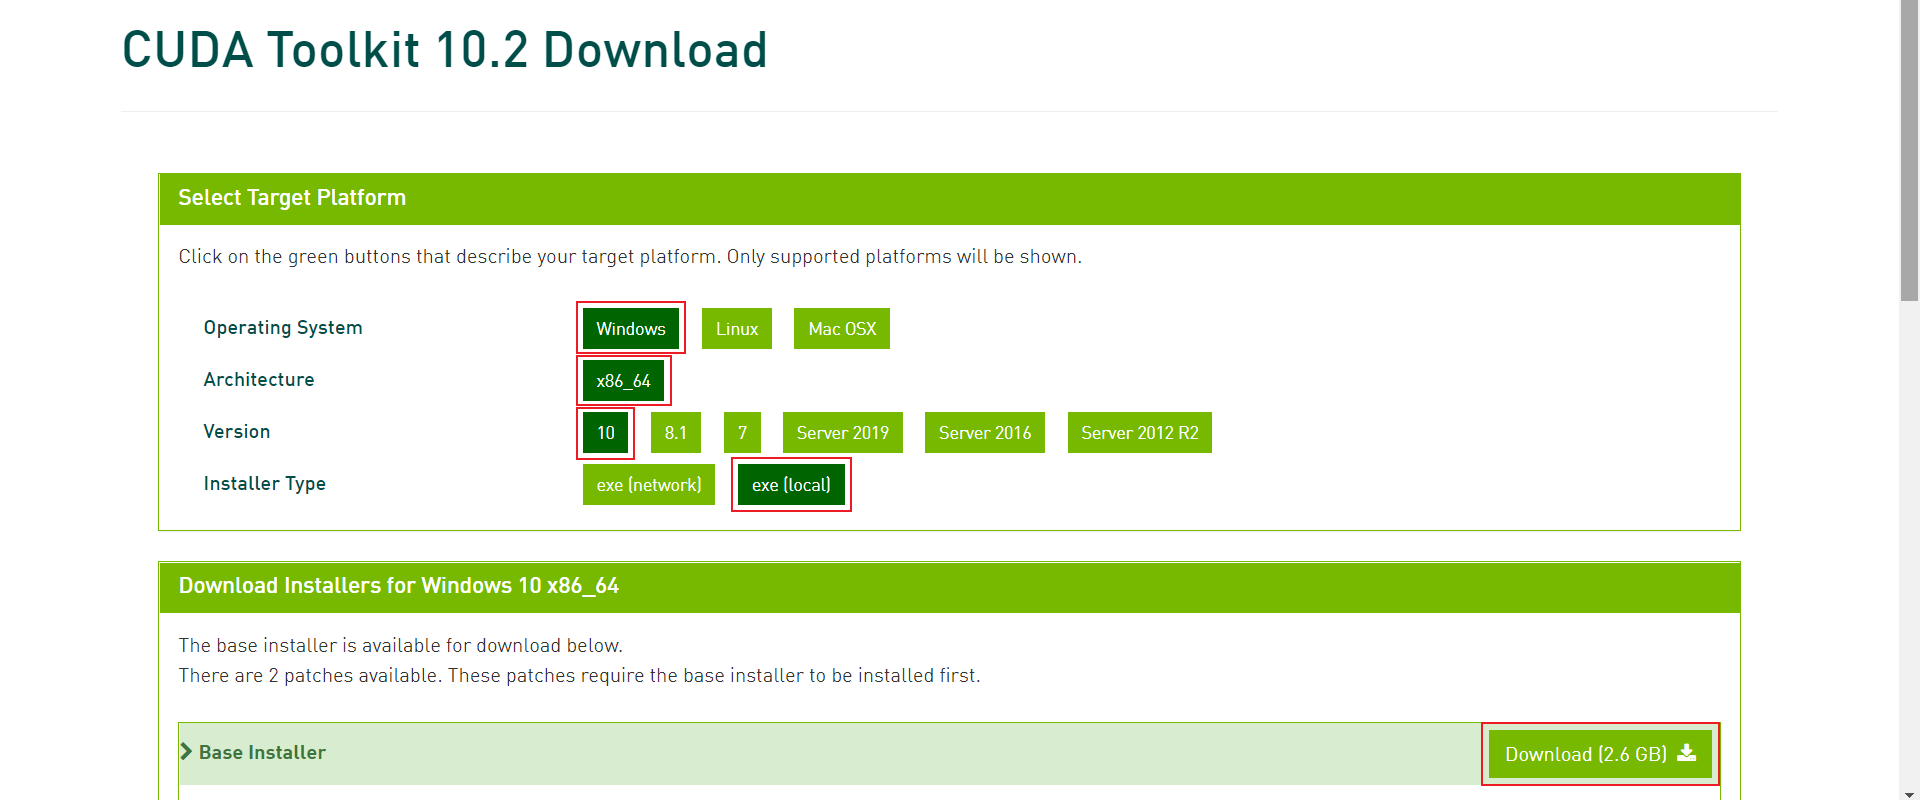
選擇對(duì)應(yīng)操作系統(tǒng)版本然后點(diǎn)擊Download
!Installer Type一定要選exe(local)
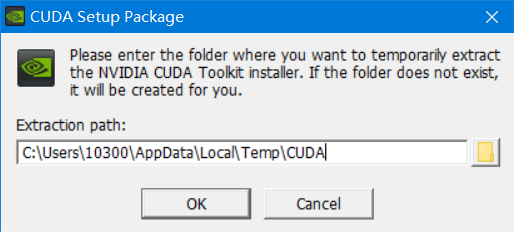
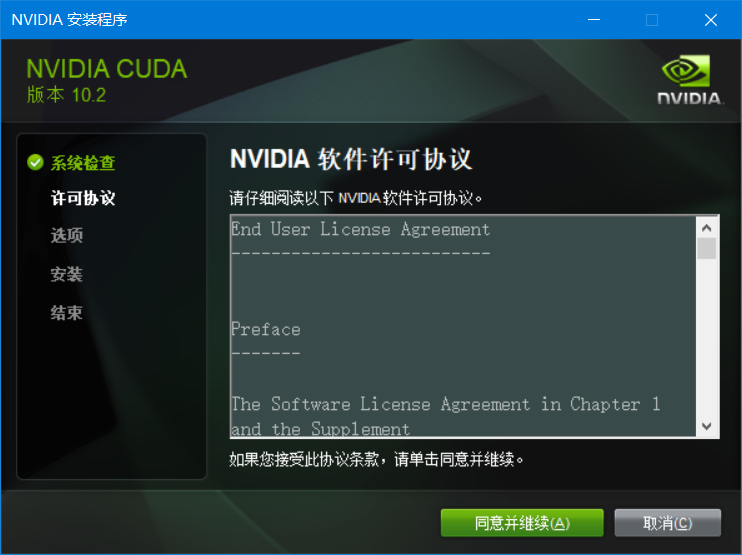
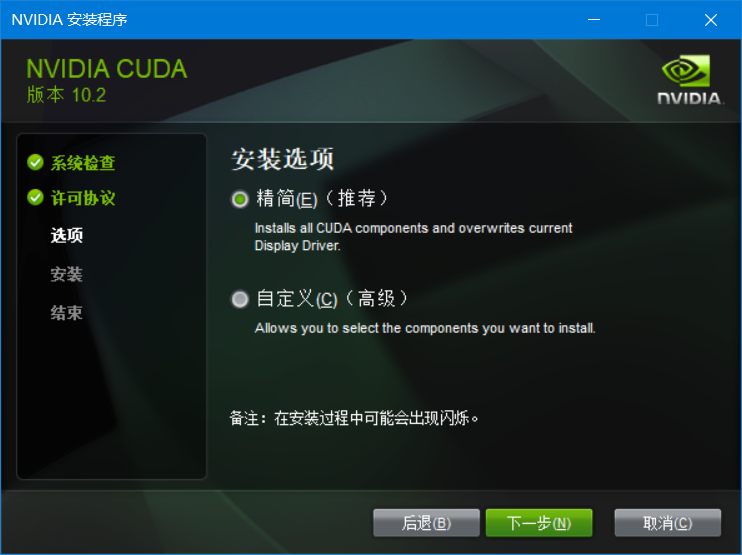
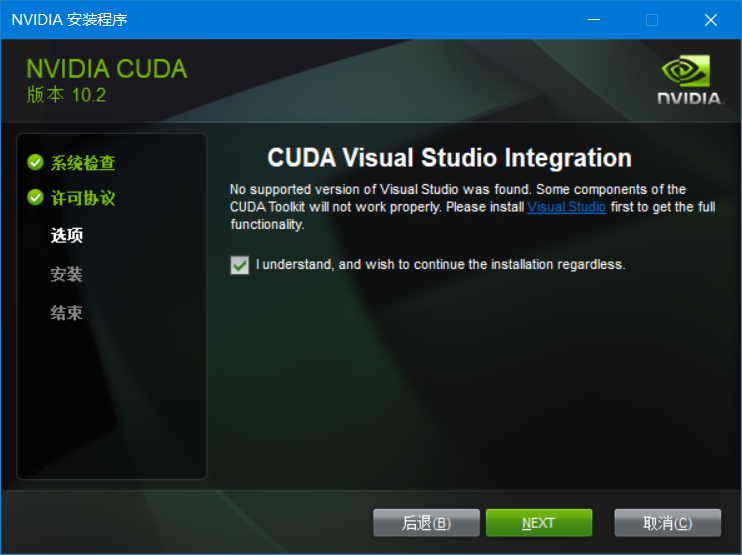
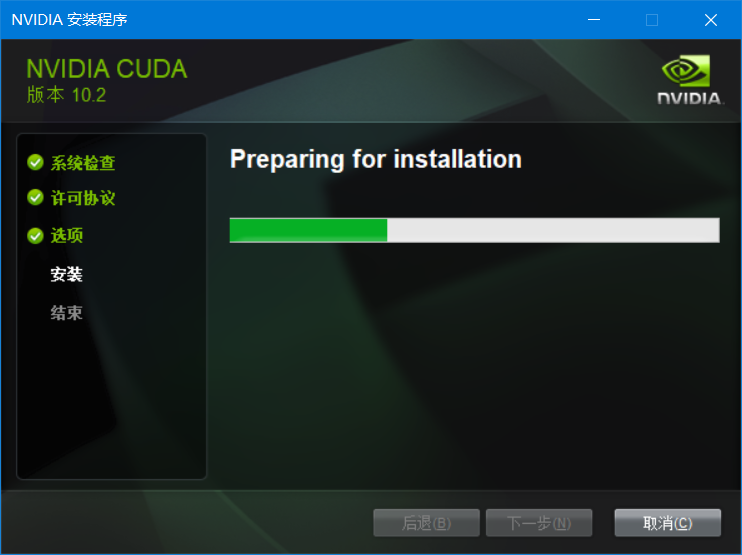
安裝
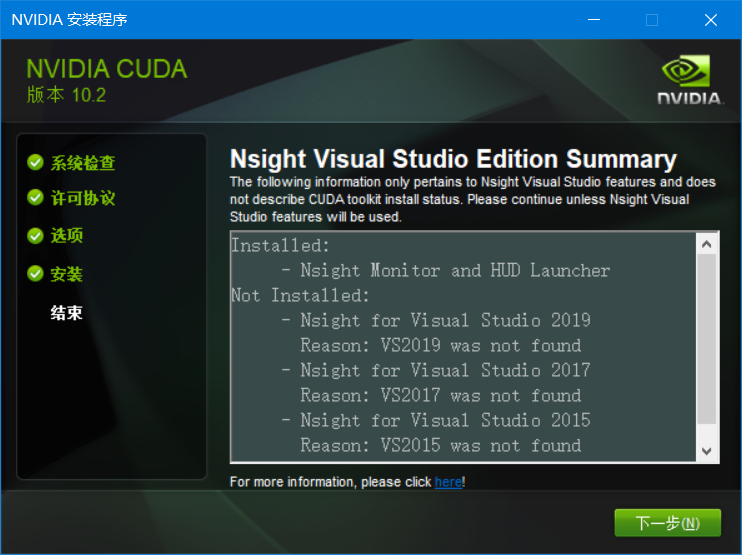

安裝完成
在Terminal輸入以下命令
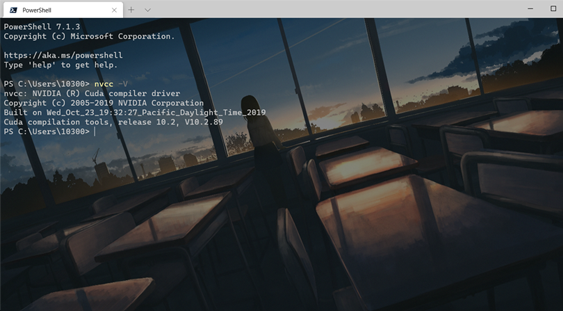
顯示CUDA版本則相關(guān)環(huán)境變量已經(jīng)自動(dòng)配置
✨安裝cuDNN

下載
下載鏈接
https://developer.nvidia.com/rdp/cudnn-archive
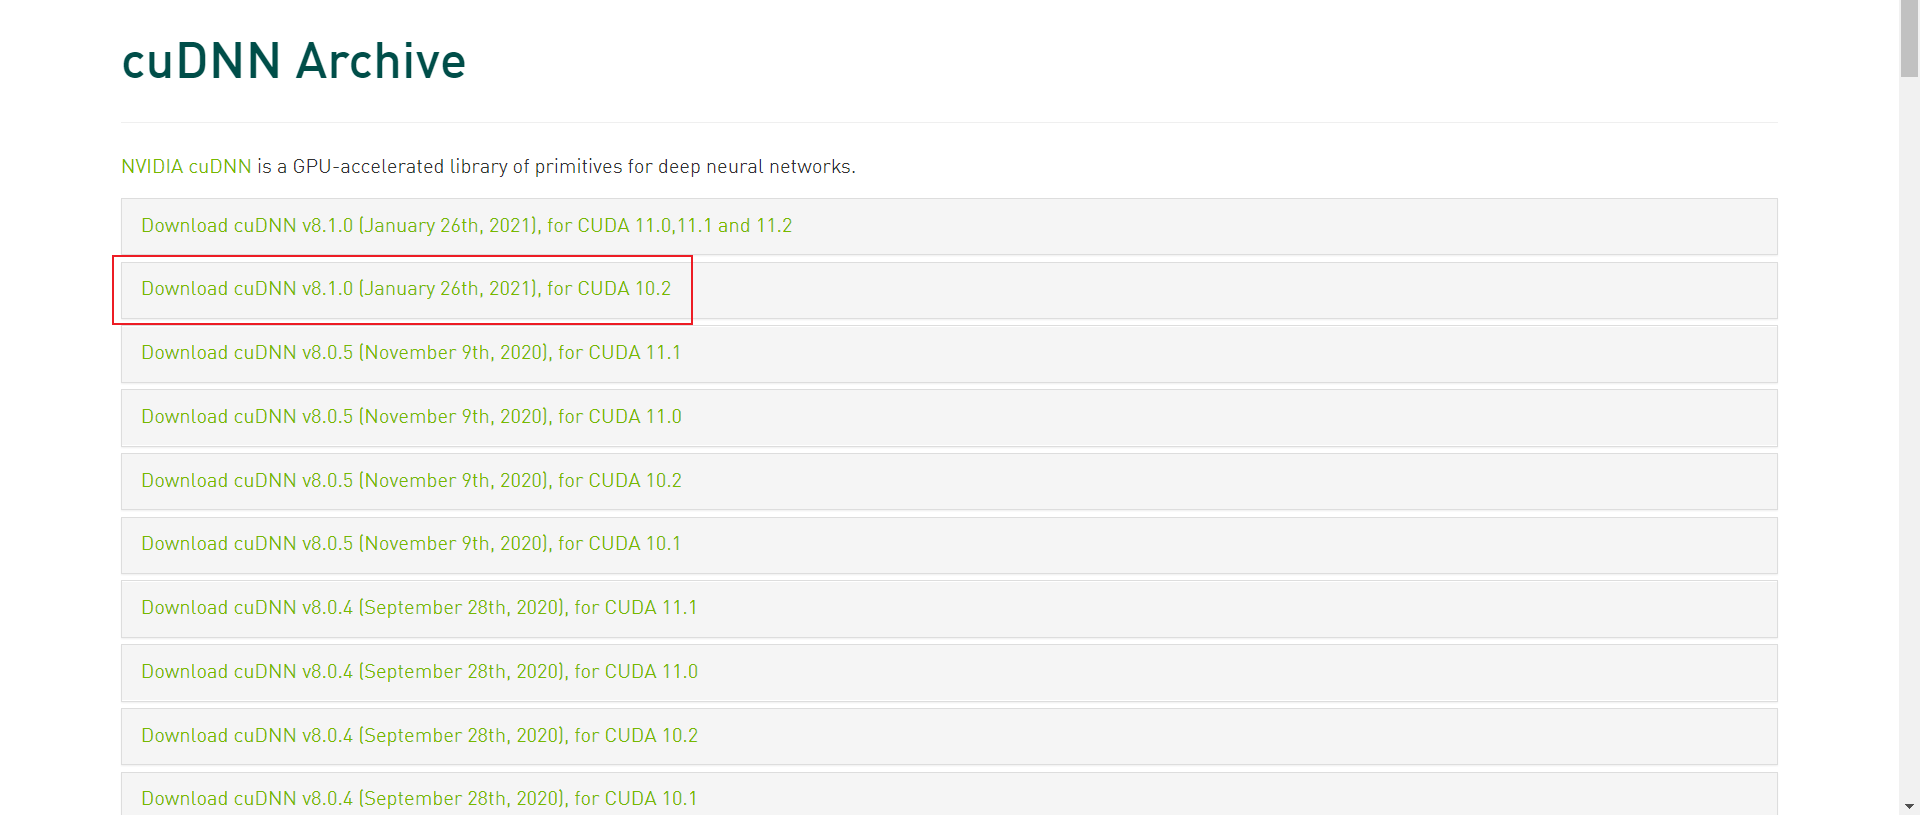
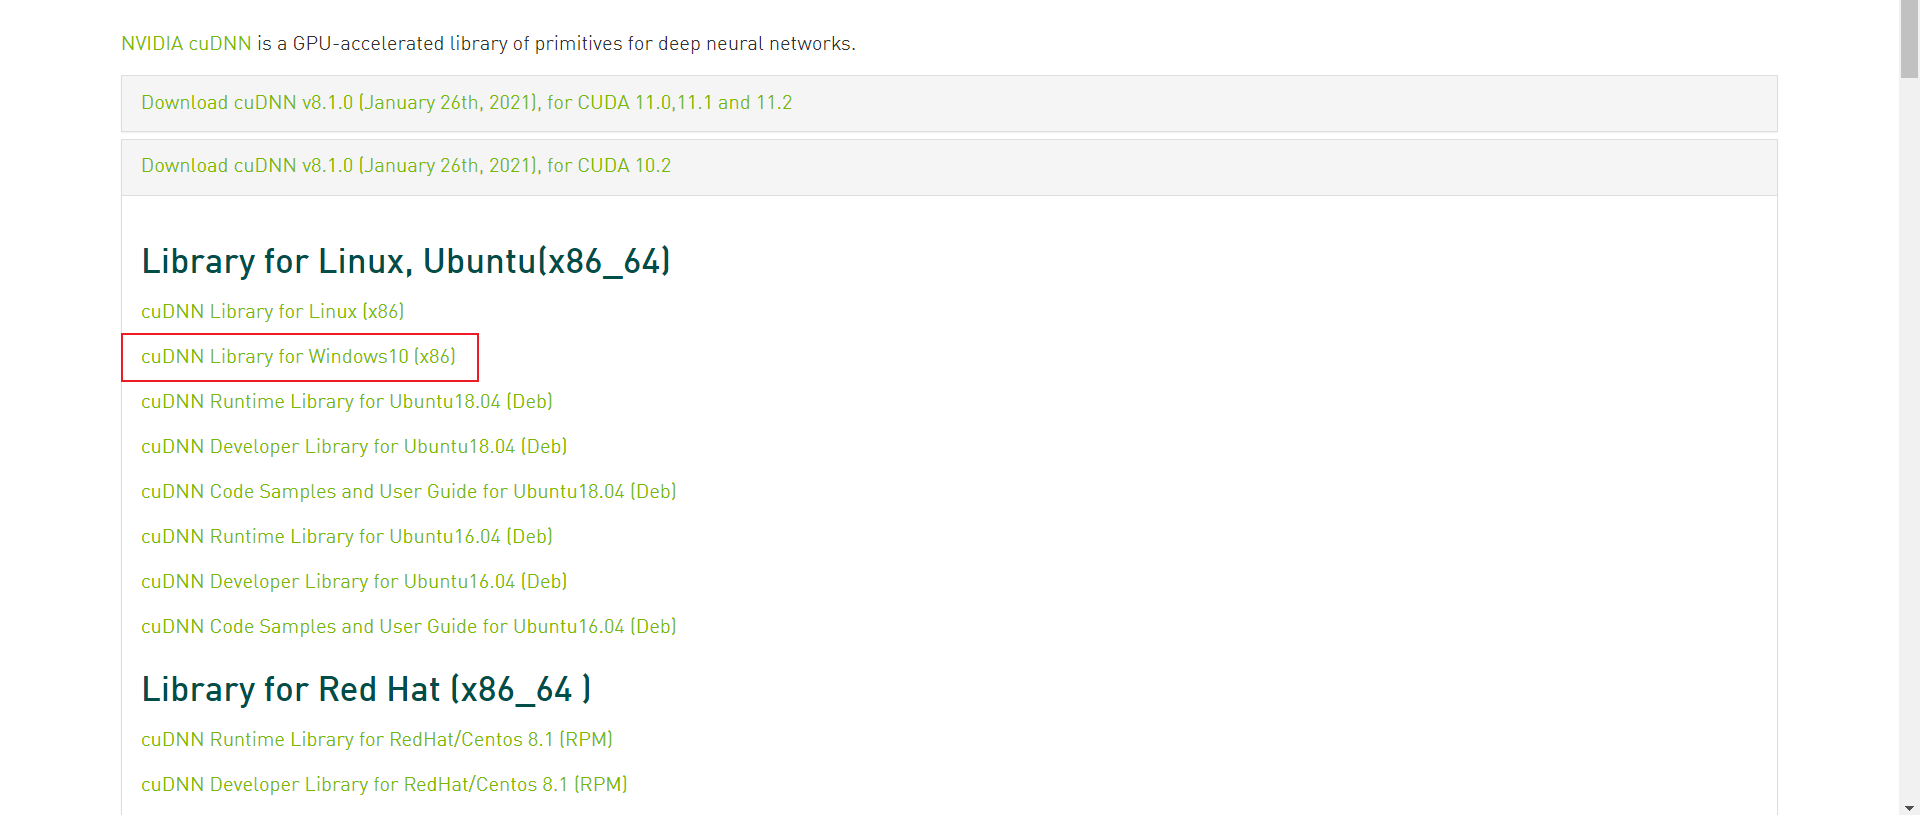
選擇和操作系統(tǒng)以及CUDA相匹配的cuDNN版本
例如我剛才安裝了CUDA10.2 這里選擇Download cuDNN v8.1.0 (January 26th, 2021), for CUDA 10.2
安裝
解壓下載的zip

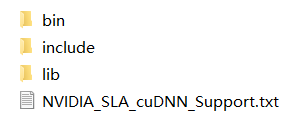
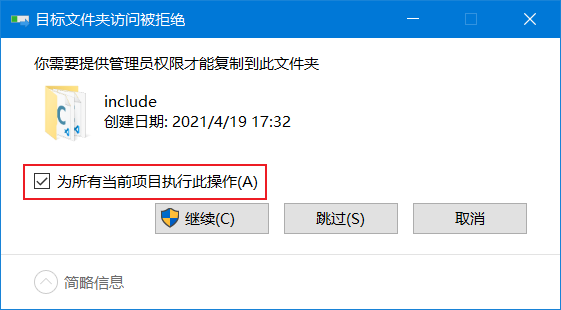
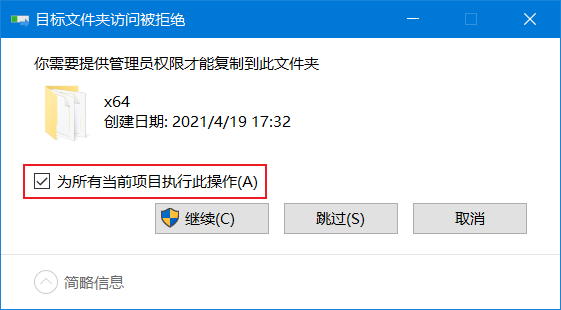
把解壓得到的文件夾內(nèi)的bin、include、lib目錄下的dll文件與h文件分別復(fù)制到相應(yīng)的CUDA的安裝目錄下
默認(rèn)安裝目錄分別為
C:\Program Files\NVIDIA GPU Computing Toolkit\CUDA\v10.2\bin
C:\Program Files\NVIDIA GPU Computing Toolkit\CUDA\v10.2\include
C:\Program Files\NVIDIA GPU Computing Toolkit\CUDA\v10.2\lib

✨安裝PyTorch
在線安裝
在PyTorch官方鏈接上查看相應(yīng)安裝命令
https://pytorch.org/get-started/previous-versions/
例如我要安裝CUDA10.2版本的torch1.6 對(duì)應(yīng)的conda命令是
# CUDA 10.2
conda install pytorch==1.6.0 torchvision==0.7.0 cudatoolkit=10.2 -c pytorch
!在線安裝速度很慢 可以選擇下面離線安裝的方法
離線安裝
whl下載鏈接
https://download.pytorch.org/whl/torch_stable.html
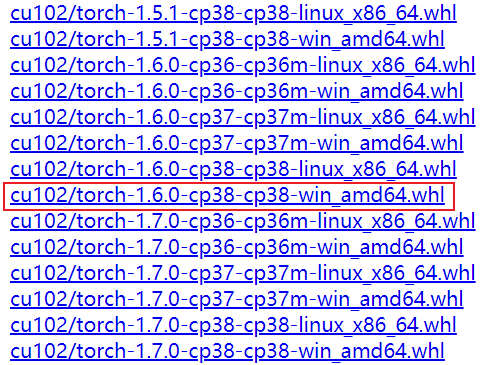
選擇對(duì)應(yīng)CUDA、Python、操作系統(tǒng)、torch版本的whl
例如我要安裝CUDA10.2、Python3.8、torch1.6 版本的whl
應(yīng)下載 cu102/torch-1.6.0-cp38-cp38-win_amd64.whl
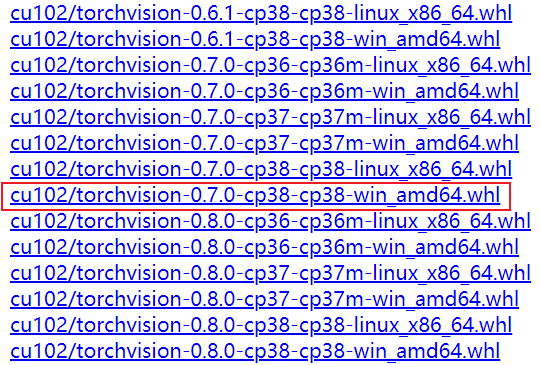
例如我要安裝CUDA10.2、Python3.8、torchvision0.7 版本的whl
應(yīng)下載 cu102/torchvision-0.7.0-cp38-cp38-win_amd64.whl
然后在conda環(huán)境中安裝
pip install torch-1.6.0-cp38-cp38-win_amd64.whl

pip install torchvision-0.7.0-cp38-cp38-win_amd64.whl

安裝完成
✨確認(rèn)環(huán)境是否配置成功
import torch

print(torch.__version__)
print(torch.cuda.is_available())
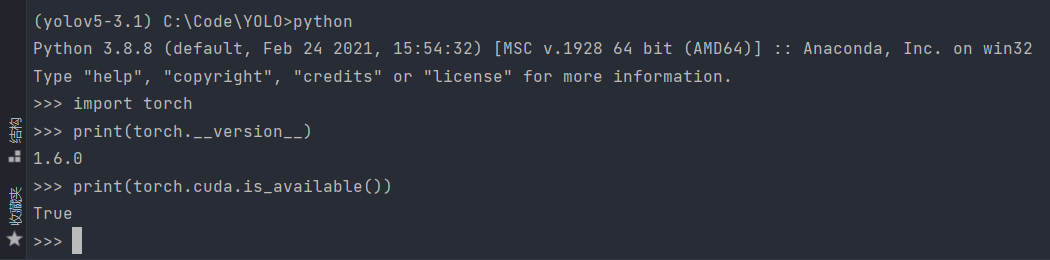
如上所示環(huán)境配置成功
✨參考及引用
https://blog.csdn.net/qq_37296487/article/details/83028394
https://blog.csdn.net/maoersong/article/details/104484826
https://blog.csdn.net/qq_36653505/article/details/83932941
到此這篇關(guān)于PyTorch CUDA環(huán)境配置及安裝的步驟(圖文教程)的文章就介紹到這了,更多相關(guān)PyTorch CUDA配置及安裝內(nèi)容請(qǐng)搜索腳本之家以前的文章或繼續(xù)瀏覽下面的相關(guān)文章希望大家以后多多支持腳本之家!
您可能感興趣的文章:- pytorch 如何用cuda處理數(shù)據(jù)
- pytorch model.cuda()花費(fèi)時(shí)間很長(zhǎng)的解決
- pytorch中.to(device) 和.cuda()的區(qū)別說(shuō)明
- Linux安裝Pytorch1.8GPU(CUDA11.1)的實(shí)現(xiàn)
- 將pytorch的網(wǎng)絡(luò)等轉(zhuǎn)移到cuda
