前提環境準備
python3+pillow+pyautogui
先提前安裝好python3以及pillow和pyautogui模塊
這里介紹一下模塊安裝方法
pip install pillow
pip install pyautogui
pip install opencv-python
最終效果是利用python腳本模擬電腦計算器進行自動計算,相當于模擬人去點擊自帶的計算器進行運算,想要做到這一點需要有兩個條件:
1.模擬鼠標和鍵盤的輸入工作
2.識別計算器按鈕的位置
先來看一下win10電腦的計算器是什么樣子的:
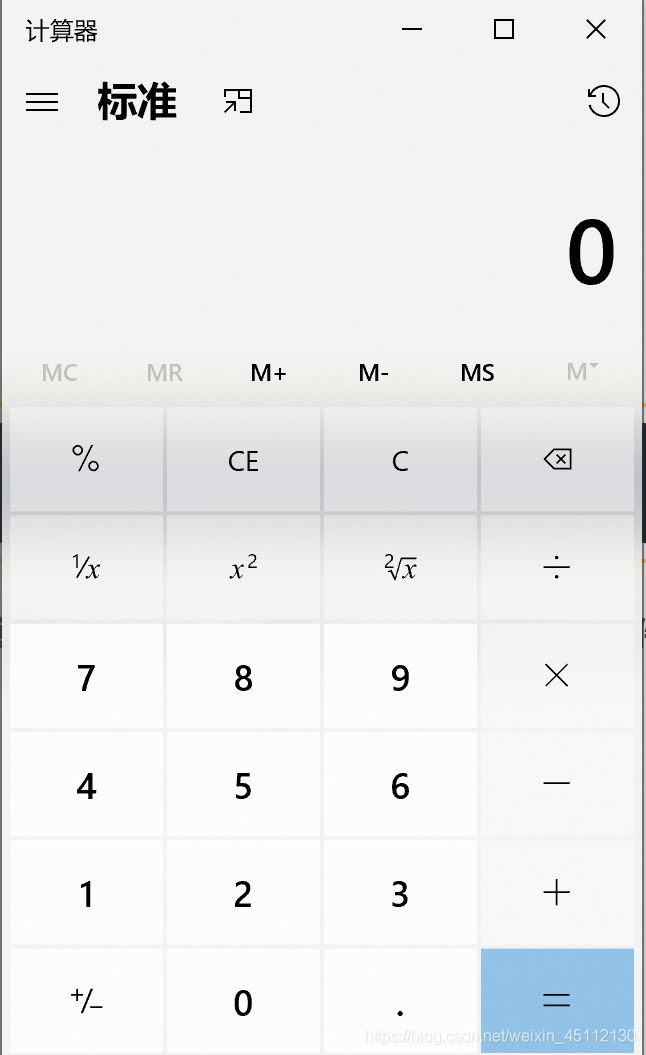
我們要知道一點,計算器窗口的位置每次都是不同的,如果你是固定去確定按鈕的坐標那就太被動了,所以我們這里需要用到圖像識別,去識別到按鈕的位置,博主這里
做一個示例 做一個1+2=的運算。
廢話不多說直接上代碼,跟著注釋,看懂代碼沒毛病。
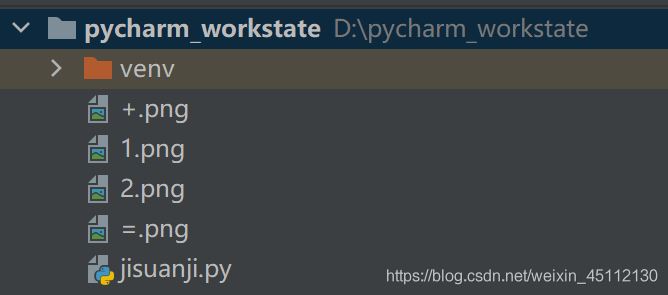
打開你的微信截圖截下1,+,2,=四個圖片存入腳本所在目錄
詳細代碼
#導入模塊
from PIL import ImageGrab
import pyautogui as auto
#定義類
class Screenshoot:
  def __init__(self):
    #self.bbox = bbox
    #self.name = name
    #self.im = ImageGrab.grab(self.bbox)
    #定位xy坐標,confidence為相似度判斷,最好不要使用1.0完全相似,比較容易不識別
    self.position_1 = auto.locateCenterOnScreen('1.png', confidence=0.9)
    self.position_2 = auto.locateCenterOnScreen('2.png', confidence=0.9)
    self.position_3 = auto.locateCenterOnScreen('+.png', confidence=0.9)
    self.position_4 = auto.locateCenterOnScreen('=.png', confidence=0.9)
    pass
  def fullshoot(self):
    #全屏截圖
    #self.im.save('01.png')
    pass
  def partialshoot(self):
    #局部精確截圖
    #self.im.save(self.name+'.png')
    pass
  def position_show(self):
    #打印各坐標
    print(self.position_1)
    print(self.position_2)
    print(self.position_3)
    print(self.position_4)
  def caculate(self):
    #依次點擊按鈕
    auto.click(self.position_1)
    auto.click(self.position_3)
    auto.click(self.position_2)
    auto.click(self.position_4)
#對象初始化
shoot1 = Screenshoot()
#對象函數執行
shoot1.position_show()
shoot1.caculate()
#shoot1.partialshoot()
#shoot1.fullshoot()
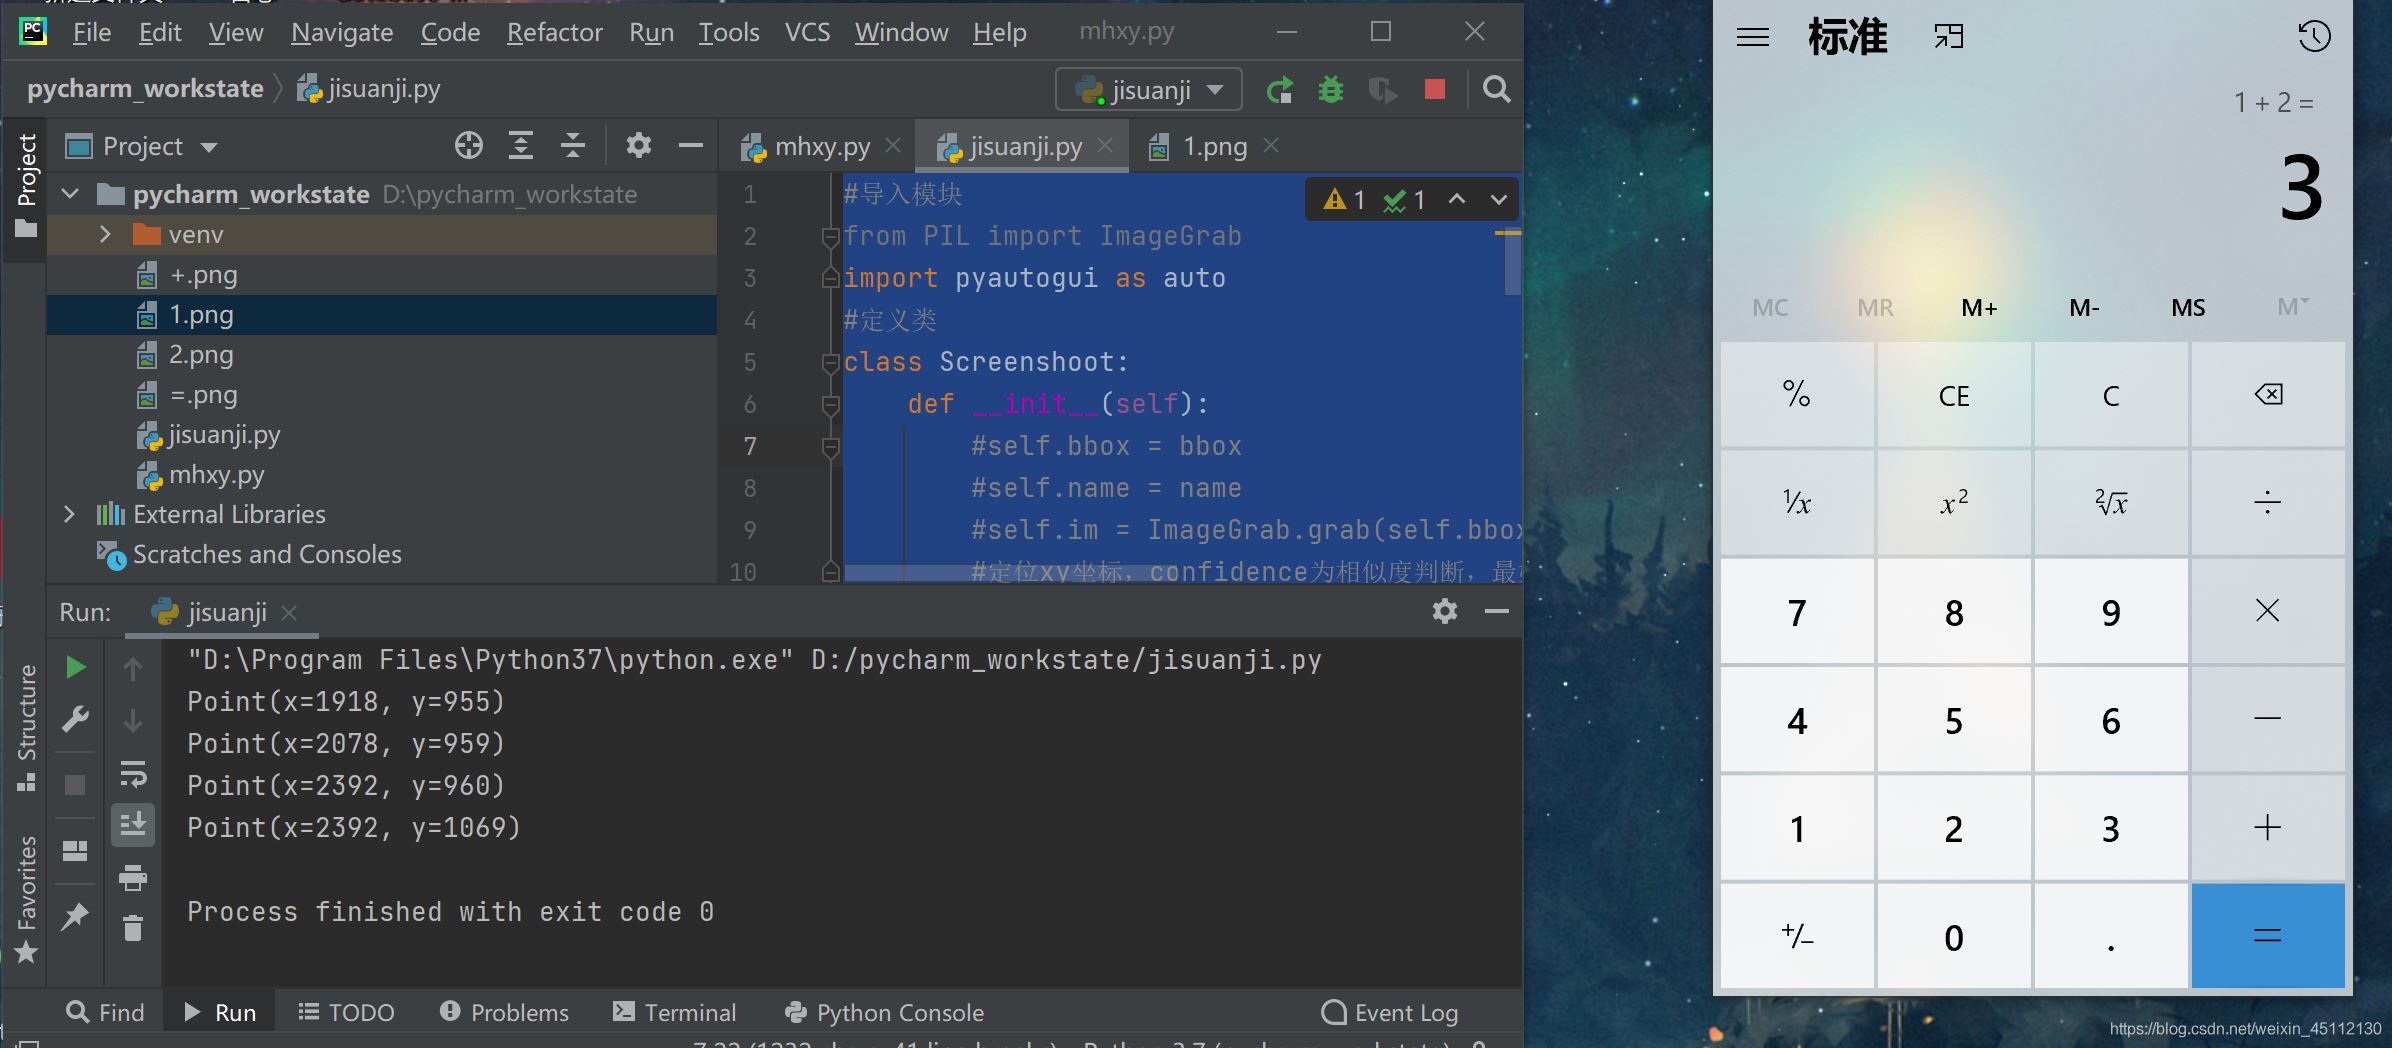
運行結果
到此這篇關于python之PyAutoGui教你做個自動腳本計算器的方法的文章就介紹到這了,更多相關PyAutoGui 自動腳本計算器內容請搜索腳本之家以前的文章或繼續瀏覽下面的相關文章希望大家以后多多支持腳本之家!
您可能感興趣的文章:- Python word文本自動化操作實現方法解析
- Python自動化操作實現圖例繪制
- 利用Python自動化操作AutoCAD的實現
- Python利用splinter實現瀏覽器自動化操作方法
- 教你怎么用python selenium實現自動化測試
- 使用Gitee自動化部署python腳本的詳細過程
- python 辦公自動化——基于pyqt5和openpyxl統計符合要求的名單
- Python辦公自動化之Excel(中)
- python PyAUtoGUI庫實現自動化控制鼠標鍵盤
- Python鍵鼠操作自動化庫PyAutoGUI簡介(小結)
- python 利用PyAutoGUI快速構建自動化操作腳本
