前言
在CSDN發的第一篇文章,時隔兩年,終于實現了爬微博的自由!本文可以解決微博預登錄、識別“展開全文”并爬取完整數據、翻頁設置等問題。由于剛接觸爬蟲,有部分術語可能用的不正確,請大家多指正!
一、區分動態爬蟲和靜態爬蟲
1、靜態網頁
靜態網頁是純粹的HTML,沒有后臺數據庫,不含程序,不可交互,體量較少,加載速度快。靜態網頁的爬取只需四個步驟:發送請求、獲取相應內容、解析內容及保存數據。
2、動態網頁
動態網頁上的數據會隨時間及用戶交互發生變化,因此數據不會直接呈現在網頁源代碼中,數據將以Json的形式保存起來。因此,動態網頁比靜態網頁多了一步,即需渲染獲得相關數據。
3、區分動靜態網頁的方法
加載網頁后,點擊右鍵,選中“查看網頁源代碼”,如果網頁上的絕大多數字段都出現源代碼中,那么這就是靜態網頁,否則是動態網頁。

二、動態爬蟲的兩種方法
1.逆向分析爬取動態網頁
適用于調度資源所對應網址的數據為json格式,Javascript的觸發調度。主要步驟是獲取需要調度資源所對應的網址-訪問網址獲得該資源的數據。(此處不詳細講解)
2.使用Selenium庫爬取動態網頁
使用Selenium庫,該庫使用JavaScript模擬真實用戶對瀏覽器進行操作。本案例將使用該方法。
三、安裝Selenium庫及下載瀏覽器補丁
1.Selenium庫使用pip工具進行安裝即可。
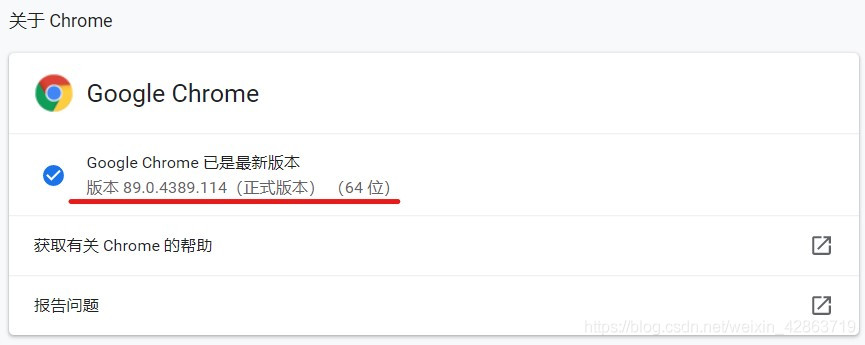
2.下載與Chrome瀏覽器版本匹配的瀏覽器補丁。
Step1:查看Chrome的版本
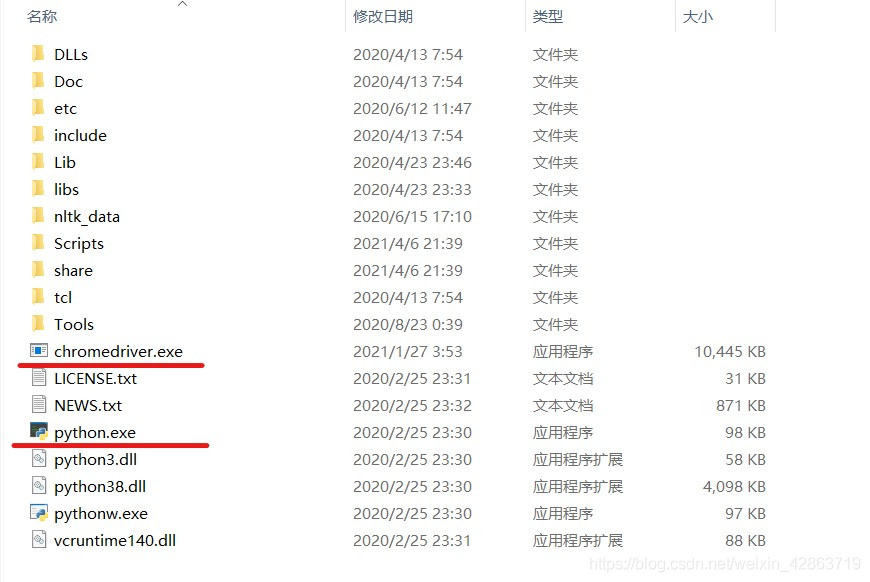
Step2:去下載相應版本的瀏覽器補丁。網址:http://npm.taobao.org/mirrors/chromedriver/
Step3:解壓文件,并將之放到與python.exe同一文件下
四、頁面打開及預登錄
1.導入selenium包
from selenium import webdriver
from selenium.webdriver.support import expected_conditions as EC
from selenium.webdriver.support.ui import WebDriverWait
from selenium.webdriver.common.by import By
import time
import pandas as pd
2.打開頁面
driver = webdriver.Chrome()
print('準備登陸Weibo.cn網站...')
#發送請求
driver.get("https://login.sina.com.cn/signup/signin.php")
wait = WebDriverWait(driver,5)
#重要:暫停1分鐘進行預登陸,此處填寫賬號密碼及驗證
time.sleep(60)
3.采用交互式運行,運行完上面兩段程序,會彈出一個框,這個框就是用來模擬網頁的交互。在這個框中完成登錄(包括填寫登錄名、密碼及短信驗證等)

4.完成預登錄,則進入個人主頁
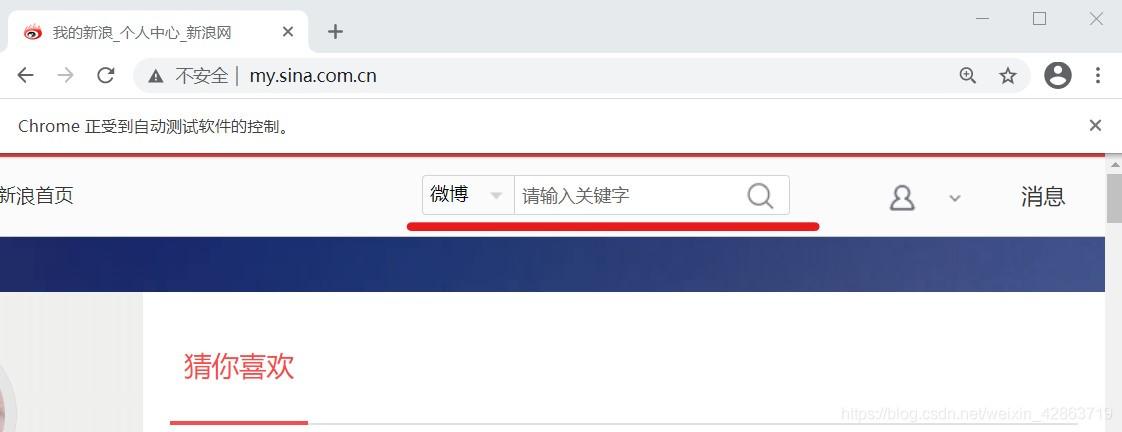
五、關鍵詞搜索操作
1.定位上圖中的關鍵詞輸入框,并在框中輸入搜索對象,如“努力學習”
#使用selector去定位關鍵詞搜索框
s_input = driver.find_element_by_css_selector('#search_input')
#向搜索框中傳入字段
s_input.send_keys("努力學習")
#定位搜索鍵
confirm_btn = driver.find_element_by_css_selector('#search_submit')
#點擊
confirm_btn.click()
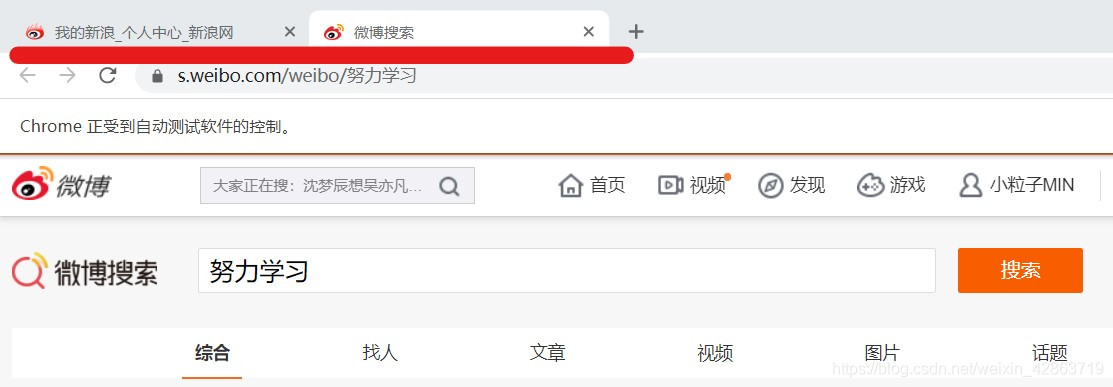
2.當完成上步的代碼運行后,會彈出新的窗口,從個人主頁跳到微博搜索頁。但是driver仍在個人主頁,需要人為進行driver的移動,將之移動到微博搜索頁。
3.使用switch_to.window()方法移位
#人為移動driver
driver.switch_to.window(driver.window_handles[1])
六、識別“展開全文”并爬取數據
1.了解每個元素的Selector,用以定位(重點在于唯一標識性)

2.使用Selector定位元素,并獲取相應的數據
comment = []
username = []

#抓取節點:每個評論為一個節點(包括用戶信息、評論、日期等信息),如果一頁有20條評論,那么nodes的長度就為20
nodes = driver.find_elements_by_css_selector('div.card > div.card-feed > div.content')

#對每個節點進行循環操作
for i in range(0,len(nodes),1):
    #判斷每個節點是否有“展開全文”的鏈接
    flag = False
    try:
        nodes[i].find_element_by_css_selector("p>a[action-type='fl_unfold']").is_displayed()
        flag = True
    except:
        flag = False

    #如果該節點具有“展開全文”的鏈接,且該鏈接中的文字是“展開全文c”,那么點擊這個要素,并獲取指定位置的文本;否則直接獲取文本
    #(兩個條件需要同時滿足,因為該selector不僅標識了展開全文,還標識了其他元素,沒有做到唯一定位)
    if(flag and nodes[i].find_element_by_css_selector("p>a[action-type='fl_unfold']").text.startswith('展開全文c')):
        nodes[i].find_element_by_css_selector("p>a[action-type='fl_unfold']").click()
        comment.append(nodes[i].find_element_by_css_selector('p[node-type="feed_list_content_full"]').text)
    else:
        comment.append(nodes[i].find_element_by_css_selector('p[node-type="feed_list_content"]').text)
    username.append(nodes[i].find_element_by_css_selector("div.info>div:nth-child(2)>a").text)
七、設置翻頁
1.使用for循環實現翻頁,重點在于識別“下一頁”按鈕,并點擊它
for page in range(49):
    print(page)
    # 定位下一頁按鈕
    nextpage_button = driver.find_element_by_link_text('下一頁')
    #點擊按鍵
    driver.execute_script("arguments[0].click();", nextpage_button)
    wait = WebDriverWait(driver,5)
    #與前面類似
    nodes1 = driver.find_elements_by_css_selector('div.card > div.card-feed > div.content')
    for i in range(0,len(nodes1),1):
        flag = False
        try:
            nodes1[i].find_element_by_css_selector("p>a[action-type='fl_unfold']").is_displayed()
            flag = True

        except:
            flag = False
        if (flag and nodes1[i].find_element_by_css_selector("p>a[action-type='fl_unfold']").text.startswith('展開全文c')):
            nodes1[i].find_element_by_css_selector("p>a[action-type='fl_unfold']").click()
            comment.append(nodes1[i].find_element_by_css_selector('p[node-type="feed_list_content_full"]').text)
        else:
            comment.append(nodes1[i].find_element_by_css_selector('p[node-type="feed_list_content"]').text)
        username.append(nodes1[i].find_element_by_css_selector("div.info>div:nth-child(2)>a").text)
八、保存數據
1.使用DataFrame保存字段
data = pd.DataFrame({'username':username,'comment':comment})
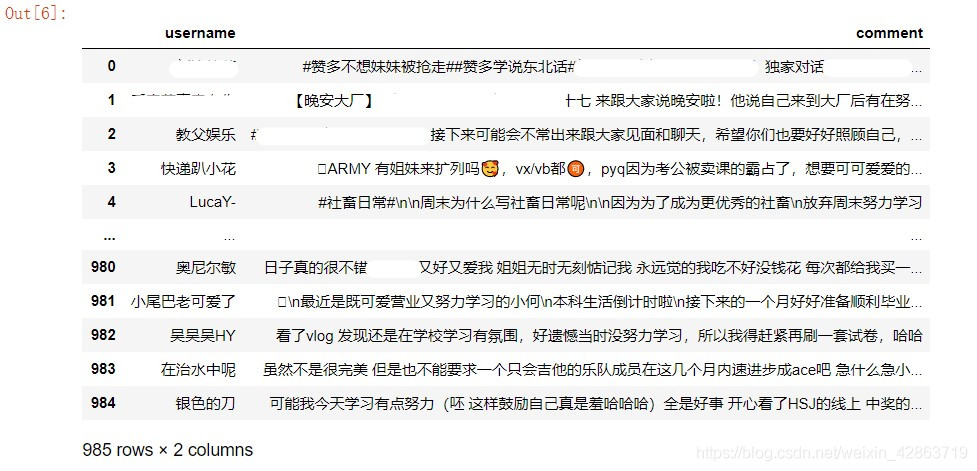
2.導出到Excel
data.to_excel("weibo.xlsx")
九、完整代碼
from selenium import webdriver
from selenium.webdriver.support import expected_conditions as EC
from selenium.webdriver.support.ui import WebDriverWait
from selenium.webdriver.common.by import By
from bs4 import BeautifulSoup
import time
import pandas as pd

'''打開網址,預登陸'''
driver = webdriver.Chrome()
print('準備登陸Weibo.cn網站...')
#發送請求
driver.get("https://login.sina.com.cn/signup/signin.php")
wait = WebDriverWait(driver,5)
#重要:暫停1分鐘進行預登陸,此處填寫賬號密碼及驗證
time.sleep(60)

'''輸入關鍵詞到搜索框,完成搜索'''
#使用selector去定位關鍵詞搜索框
s_input = driver.find_element_by_css_selector('#search_input')
#向搜索框中傳入字段
s_input.send_keys("努力學習")
#定位搜索鍵
confirm_btn = driver.find_element_by_css_selector('#search_submit')
#點擊
confirm_btn.click()

#人為移動driver
driver.switch_to.window(driver.window_handles[1])

'''爬取第一頁數據'''
comment = []
username = []

#抓取節點:每個評論為一個節點(包括用戶信息、評論、日期等信息),如果一頁有20條評論,那么nodes的長度就為20
nodes = driver.find_elements_by_css_selector('div.card > div.card-feed > div.content')

#對每個節點進行循環操作
for i in range(0,len(nodes),1):
    #判斷每個節點是否有“展開全文”的鏈接
    flag = False
    try:
        nodes[i].find_element_by_css_selector("p>a[action-type='fl_unfold']").is_displayed()
        flag = True
    except:
        flag = False

    #如果該節點具有“展開全文”的鏈接,且該鏈接中的文字是“展開全文c”,那么點擊這個要素,并獲取指定位置的文本;否則直接獲取文本
    #(兩個條件需要同時滿足,因為該selector不僅標識了展開全文,還標識了其他元素,沒有做到唯一定位)
    if(flag and nodes[i].find_element_by_css_selector("p>a[action-type='fl_unfold']").text.startswith('展開全文c')):
        nodes[i].find_element_by_css_selector("p>a[action-type='fl_unfold']").click()
        comment.append(nodes[i].find_element_by_css_selector('p[node-type="feed_list_content_full"]').text)
    else:
        comment.append(nodes[i].find_element_by_css_selector('p[node-type="feed_list_content"]').text)
    username.append(nodes[i].find_element_by_css_selector("div.info>div:nth-child(2)>a").text)

'''循環操作,獲取剩余頁數的數據'''
for page in range(49):
    print(page)
    # 定位下一頁按鈕
    nextpage_button = driver.find_element_by_link_text('下一頁')
    #點擊按鍵
    driver.execute_script("arguments[0].click();", nextpage_button)
    wait = WebDriverWait(driver,5)
    #與前面類似
    nodes1 = driver.find_elements_by_css_selector('div.card > div.card-feed > div.content')
    for i in range(0,len(nodes1),1):
        flag = False
        try:
            nodes1[i].find_element_by_css_selector("p>a[action-type='fl_unfold']").is_displayed()
            flag = True

        except:
            flag = False
        if (flag and nodes1[i].find_element_by_css_selector("p>a[action-type='fl_unfold']").text.startswith('展開全文c')):
            nodes1[i].find_element_by_css_selector("p>a[action-type='fl_unfold']").click()
            comment.append(nodes1[i].find_element_by_css_selector('p[node-type="feed_list_content_full"]').text)
        else:
            comment.append(nodes1[i].find_element_by_css_selector('p[node-type="feed_list_content"]').text)
        username.append(nodes1[i].find_element_by_css_selector("div.info>div:nth-child(2)>a").text)

'''保存數據'''
data = pd.DataFrame({'username':username,'comment':comment})
data.to_excel("weibo.xlsx")
到此這篇關于使用Selenium實現微博爬蟲(預登錄、展開全文、翻頁)的文章就介紹到這了,更多相關Selenium 微博爬蟲 內容請搜索腳本之家以前的文章或繼續瀏覽下面的相關文章希望大家以后多多支持腳本之家!
您可能感興趣的文章:- 基于python requests selenium爬取excel vba過程解析
- Python + selenium + requests實現12306全自動搶票及驗證碼破解加自動點擊功能
- 如何使用selenium和requests組合實現登錄頁面
- python selenium實現智聯招聘數據爬取
- Python+Selenium定位不到元素常見原因及解決辦法(報:NoSuchElementException)
- python+selenium小米商城紅米K40手機自動搶購的示例代碼
- python爬蟲之利用Selenium+Requests爬取拉勾網
