目錄
- 背景
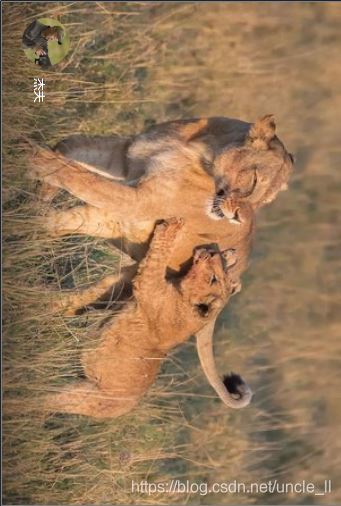
- 原始圖像:
- opencv函數
- numpy函數
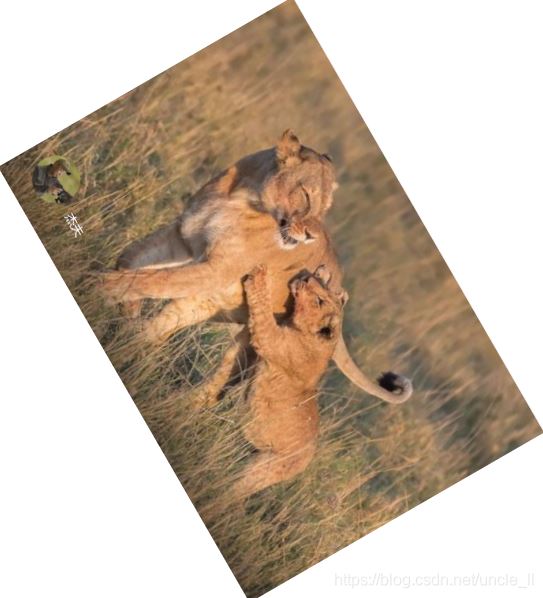
- 旋轉90度
- 參考
背景
在圖像處理中,有的時候會有對圖片進行角度旋轉的處理,尤其是在計算機視覺中對于圖像擴充,旋轉角度擴充圖片是一種常見的處理。這種旋轉圖片的應用場景也比較多,比如用戶上傳圖片是豎著的時候,不好進行處理,也需要對其進行旋轉,以便后續算法處理。常見的旋轉處理有兩種方式,一種是轉化為numpy矩陣后,對numpy矩陣進行處理,另外一種是使用opencv自帶的函數進行各種變換處理,以實現旋轉角度的結果。
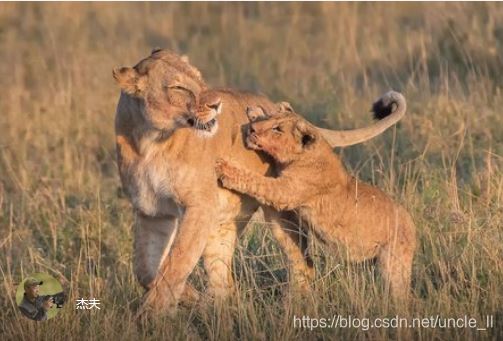
原始圖像:
opencv函數
旋轉中常用的函數有以下幾個函數
cv2.transpose: 對圖像矩陣進行轉置處理
img = cv2.imread(origin_img_path)
img_transpose = cv2.transpose(img)
cv2.imshow('transpose', img_transpose)
cv2.waitKey(0)

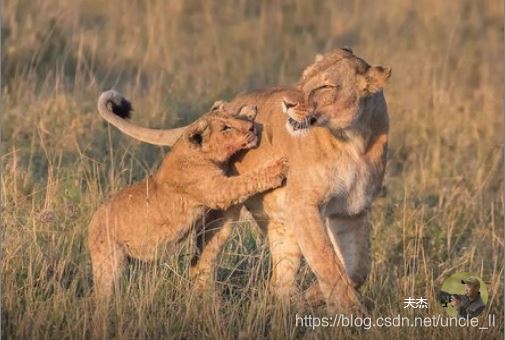
cv2.flip : 對圖像矩陣進行翻轉處理,參數可以設置為1,0,-1,分別對應著水平翻轉、垂直翻轉、水平垂直翻轉。
img = cv2.imread(origin_img_path)
img_flip = cv2.flip(img, 1)
cv2.imshow('flip', img_flip)
cv2.waitKey(0)
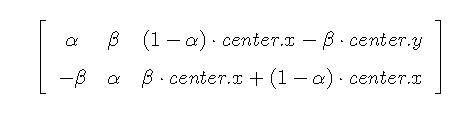
cv2.getRotationMatrix2D: 構建旋轉矩陣M,后續旋轉時候只需要與旋轉矩陣進行乘積即可完成旋轉操作
旋轉矩陣M
img = cv2.imread(origin_img_path)
rows, cols = img.shape
# 這里的第一個參數為旋轉中心,第二個為旋轉角度,第三個為旋轉后的縮放因子
# 可以通過設置旋轉中心,縮放因子以及窗口大小來防止旋轉后超出邊界的問題
M = cv2.getRotationMatrix2D((cols/2,rows/2),45,0.6)
cv2.warpAffine: 對圖像進行仿射變換,一般進行平移或者旋轉操作
img = cv2.imread(origin_img_path)
cv2.warpAffine(img, M,(lengh,lengh),borderValue=(255,255,255))  # M為上面的旋轉矩陣
numpy函數
numpy實現旋轉一般是使用numpy.rot90對圖像進行90度倍數的旋轉操作
官方介紹:
numpy.rot90(m, k=1, axes=(0, 1))[source]
Rotate an array by 90 degrees in the plane specified by axes.
Rotation direction is from the first towards the second axis.
k: Number of times the array is rotated by 90 degrees.
關鍵參數k表示旋轉90度的倍數,k的取值一般為1、2、3,分別表示旋轉90度、180度、270度;k也可以取負數,-1、-2、-3。k取正數表示逆時針旋轉,取負數表示順時針旋轉。
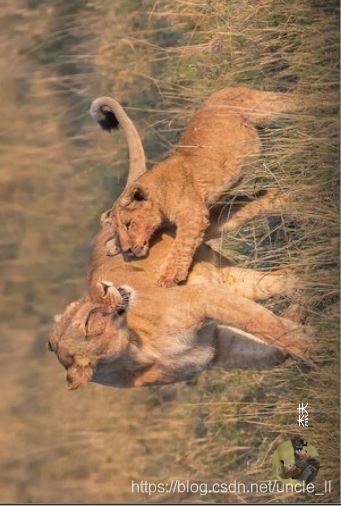
旋轉90度
逆時針
- 使用opencv函數的轉置操作+翻轉操作實現旋轉
- 使用numpy.rot90實現
def rotateAntiClockWise90(img_file):  # 逆時針旋轉90度
	img = cv2.imread(img_file)
    trans_img = cv2.transpose(img)
    img90 = cv2.flip(trans_img, 0)
    cv2.imshow("rotate", img90)
    cv2.waitKey(0)
    return img90

def totateAntiClockWise90ByNumpy(img_file):  # np.rot90(img, -1) 逆時針旋轉90度
    img = cv2.imread(img_file)
    img90 = np.rot90(img, -1)
    cv2.imshow("rotate", img90)
    cv2.waitKey(0)
    return img90
順時針
def rotateClockWise90(self, img_file):
	img = cv2.imread(img_file)
    trans_img = cv2.transpose( img )
    img90 = cv2.flip(trans_img, 1)
    cv2.imshow("rotate", img90)
    cv2.waitKey(0)
    return img90

def totateClockWise90ByNumpy(img_file):  # np.rot90(img, 1) 順時針旋轉90度
    img = cv2.imread(img_file)
    img90 = np.rot90(img, 1)
    cv2.imshow("rotate", img90)
    cv2.waitKey(0)
    return img90
旋轉180度、270度
使用numpy.rot90實現旋轉180度、270度
180度
img180 = np.rot90(img, 2)
cv2.imshow("rotate", img180)
cv2.waitKey(0)
270 度
img270 = np.rot90(img, 3)
cv2.imshow("rotate", img270)
cv2.waitKey(0)

旋轉任意角度,以任意色值填充背景
import cv2
from math import *
import numpy as np

# 旋轉angle角度,缺失背景白色(255, 255, 255)填充
def rotate_bound_white_bg(image, angle):
    # grab the dimensions of the image and then determine the
    # center
    (h, w) = image.shape[:2]
    (cX, cY) = (w // 2, h // 2)

    # grab the rotation matrix (applying the negative of the
    # angle to rotate clockwise), then grab the sine and cosine
    # (i.e., the rotation components of the matrix)
    # -angle位置參數為角度參數負值表示順時針旋轉; 1.0位置參數scale是調整尺寸比例(圖像縮放參數),建議0.75
    M = cv2.getRotationMatrix2D((cX, cY), -angle, 1.0)
    cos = np.abs(M[0, 0])
    sin = np.abs(M[0, 1])

    # compute the new bounding dimensions of the image
    nW = int((h * sin) + (w * cos))
    nH = int((h * cos) + (w * sin))

    # adjust the rotation matrix to take into account translation
    M[0, 2] += (nW / 2) - cX
    M[1, 2] += (nH / 2) - cY

    # perform the actual rotation and return the image
    # borderValue 缺失背景填充色彩,此處為白色,可自定義
    return cv2.warpAffine(image, M, (nW, nH),borderValue=(255,255,255))
    # borderValue 缺省,默認是黑色(0, 0 , 0)
    # return cv2.warpAffine(image, M, (nW, nH))

img = cv2.imread("dog.png")
imgRotation = rotate_bound_white_bg(img, 45)

cv2.imshow("img",img)
cv2.imshow("imgRotation",imgRotation)
cv2.waitKey(0)
45度

60度
參考
cv2.getRotationMatrix2D博客介紹
cv2.warpAffine 博客介紹
numpy.rot90
旋轉任意角度
到此這篇關于python opencv旋轉圖片的使用方法的文章就介紹到這了,更多相關python opencv旋轉圖片內容請搜索腳本之家以前的文章或繼續瀏覽下面的相關文章希望大家以后多多支持腳本之家!
您可能感興趣的文章:- 基于OpenCV和C++ 實現圖片旋轉
- Python+OpenCV+圖片旋轉并用原底色填充新四角的例子
- Python+OpenCV 實現圖片無損旋轉90°且無黑邊
- python opencv對圖像進行旋轉且不裁剪圖片的實現方法
- python opencv實現圖片旋轉矩形分割
- opencv圖片的任意角度旋轉實現示例
