虛擬機軟件:vmware workstation
鏡像:deepin-desktop-community-1002-amd64.iso
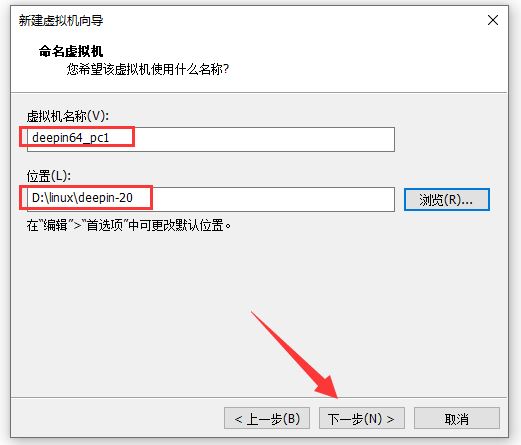
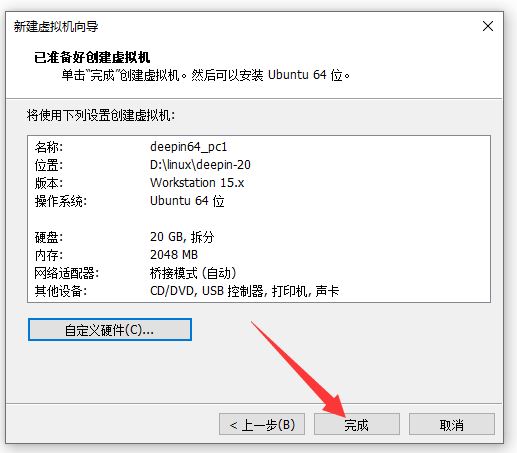
提前創建安裝目錄:D:\linux\deepin-20
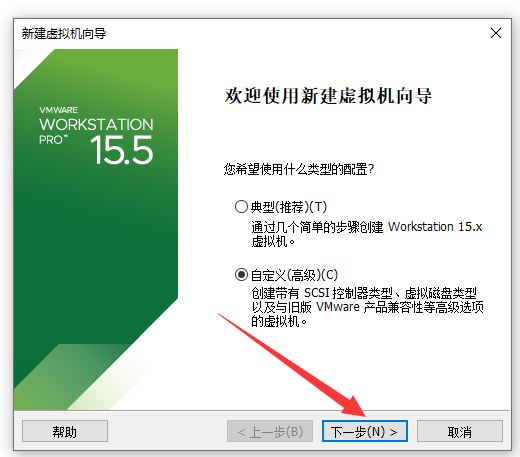
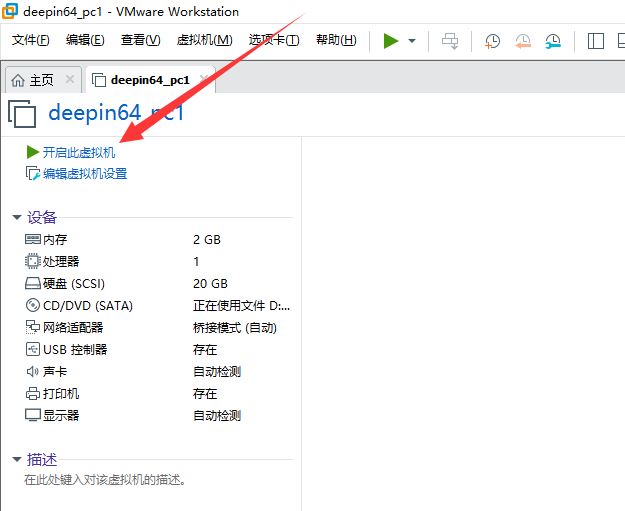
1、打開安裝好的vmware workstation,點擊創建新的虛擬機

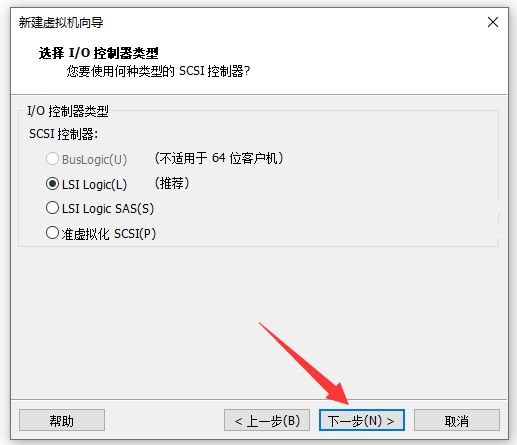
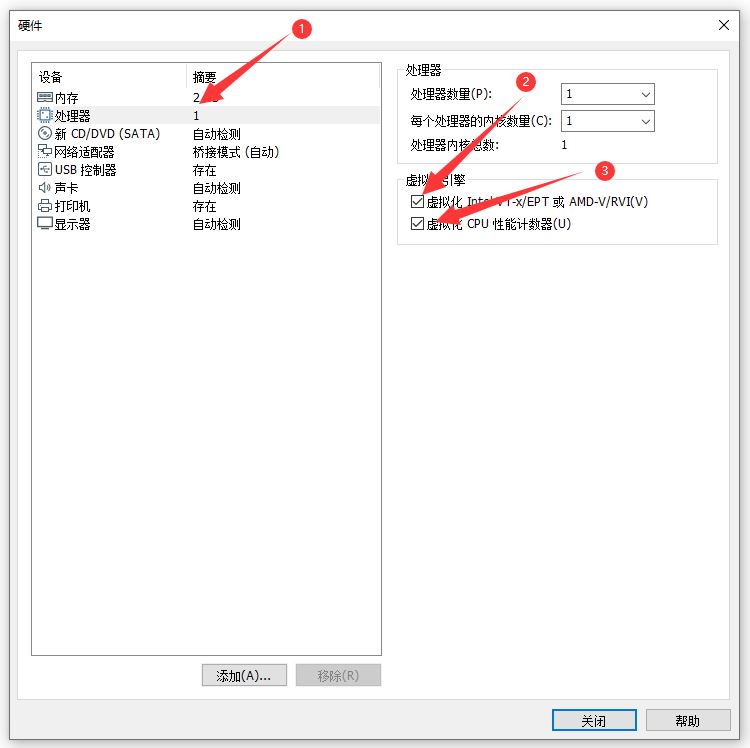
2、
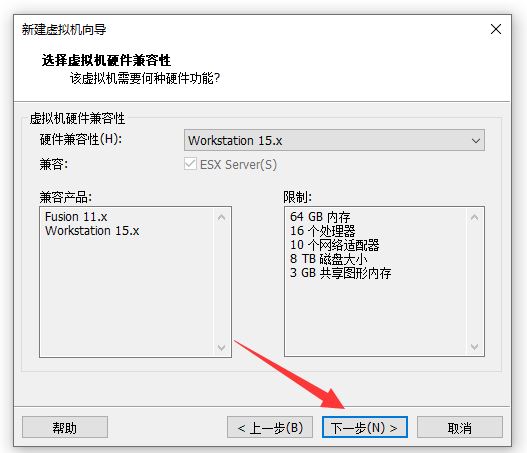
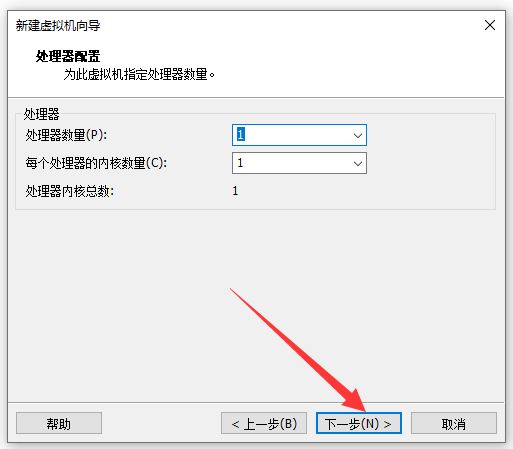
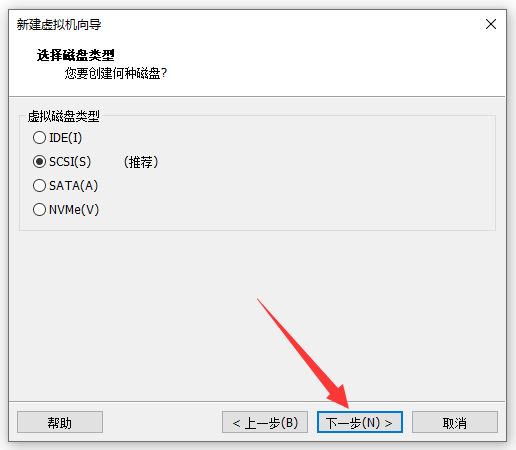
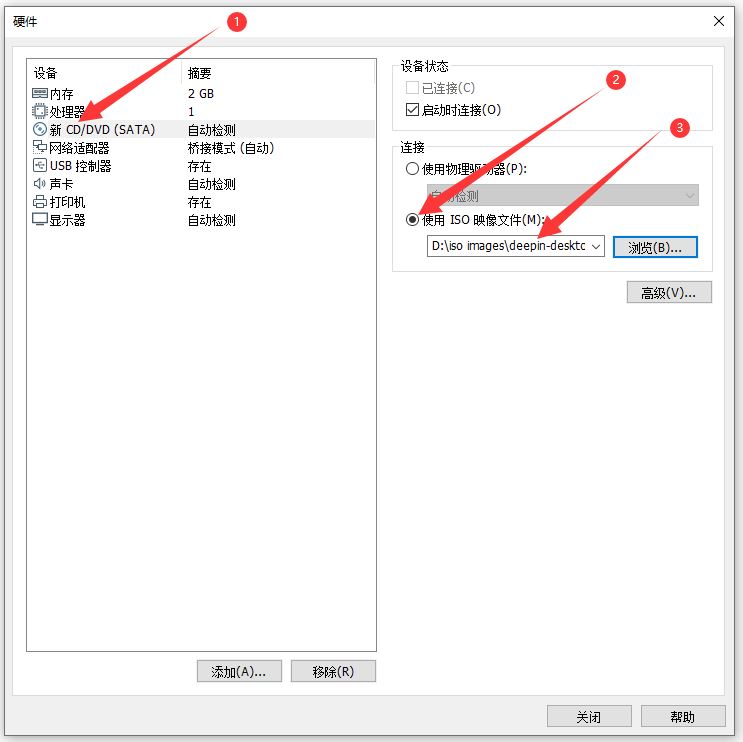
3、
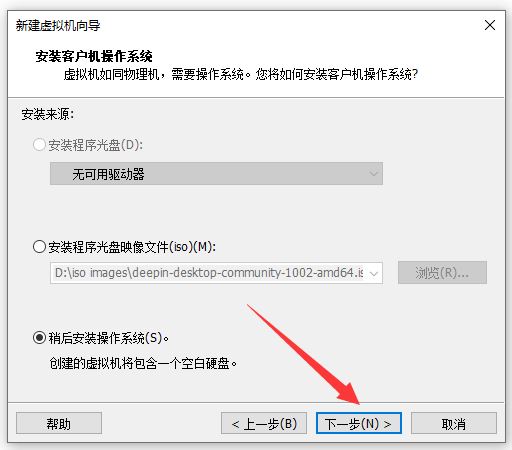
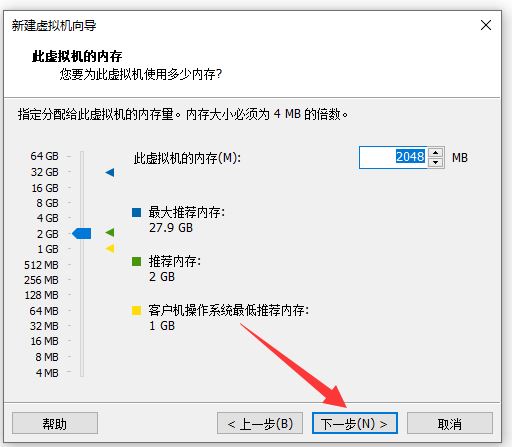
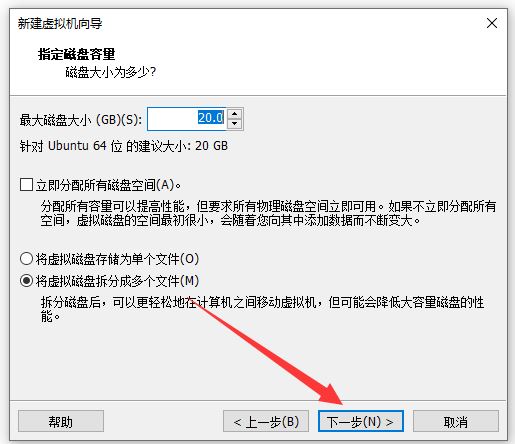
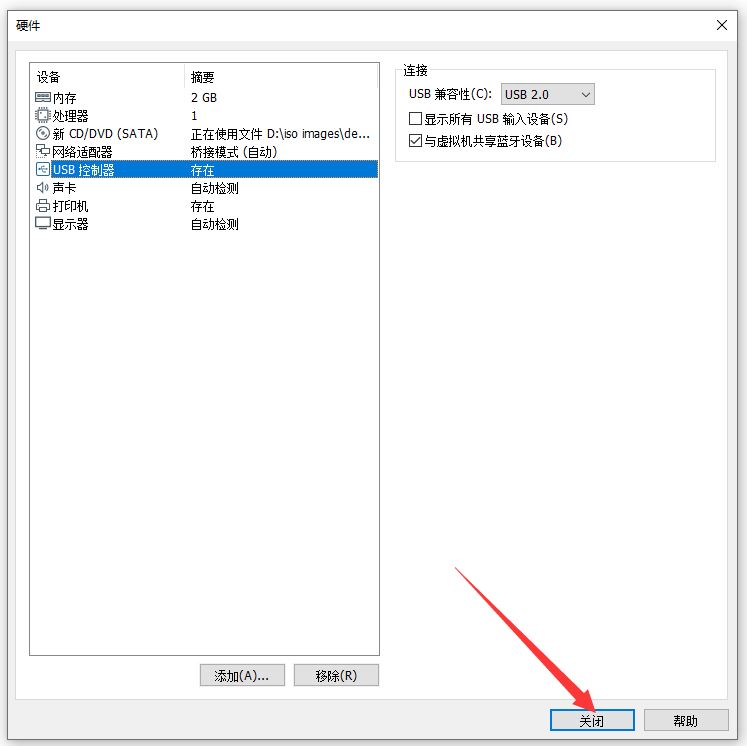
4、
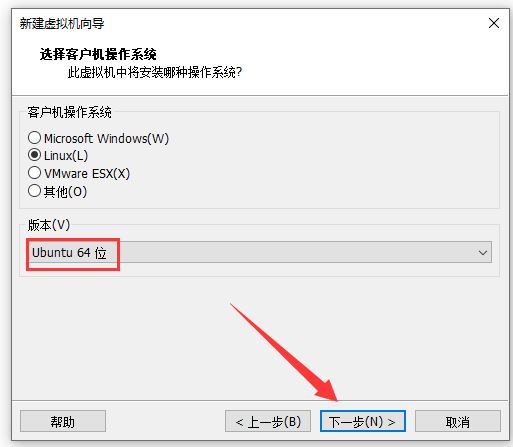
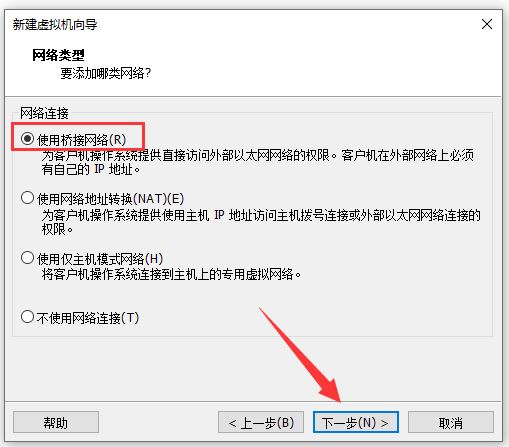
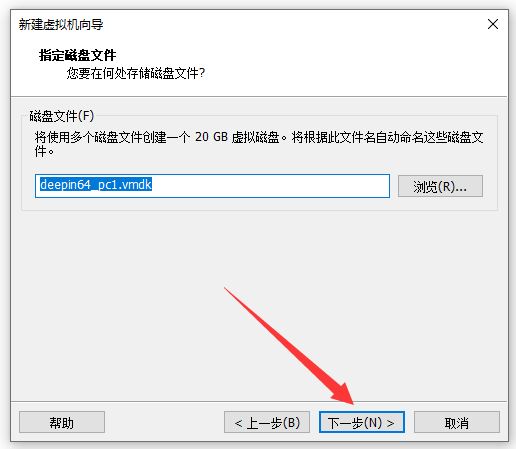
5、
6、
7、
8、
9、
10、
11、
12、

13、
14、
15、
16、
17、
18、
19、
20、

21、
22、

23、
24、

25、
26、
27、

28、

29、
30、
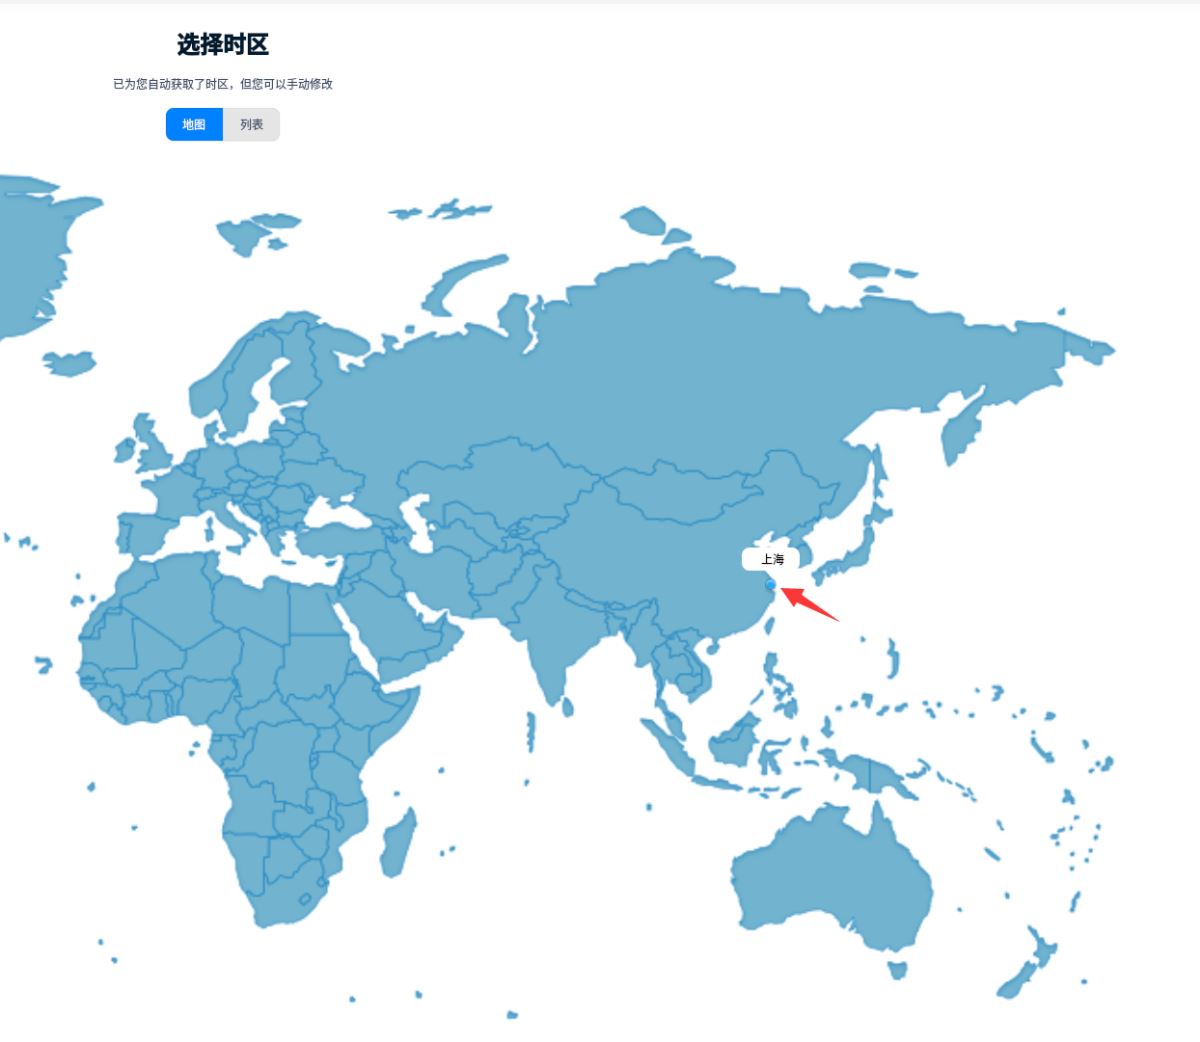
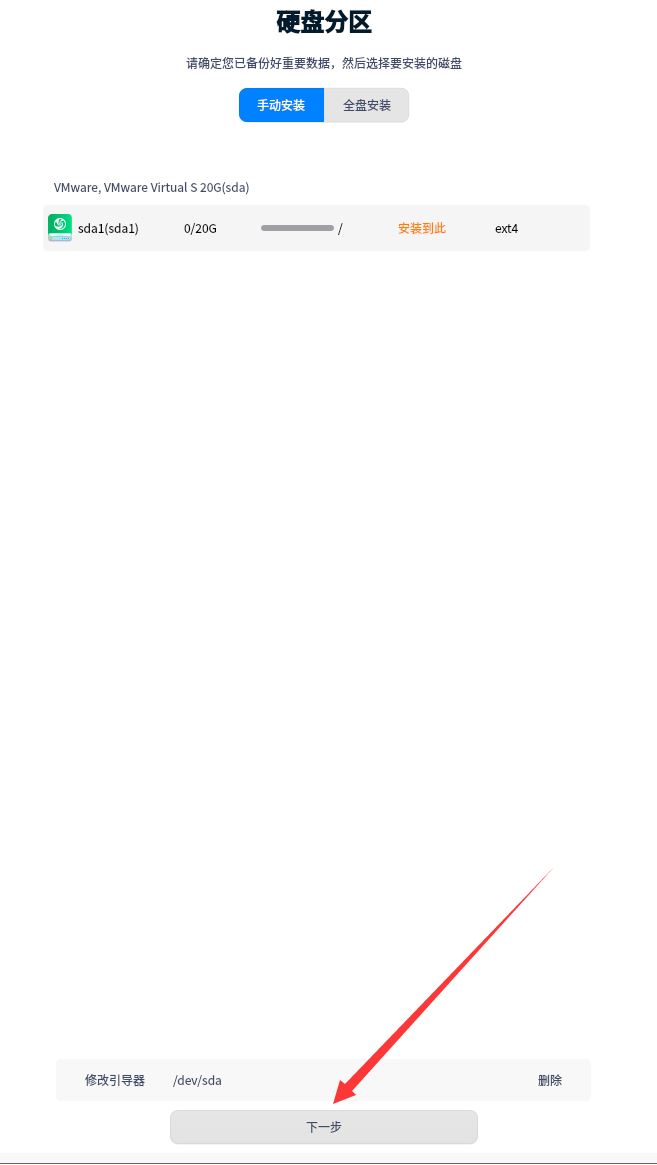
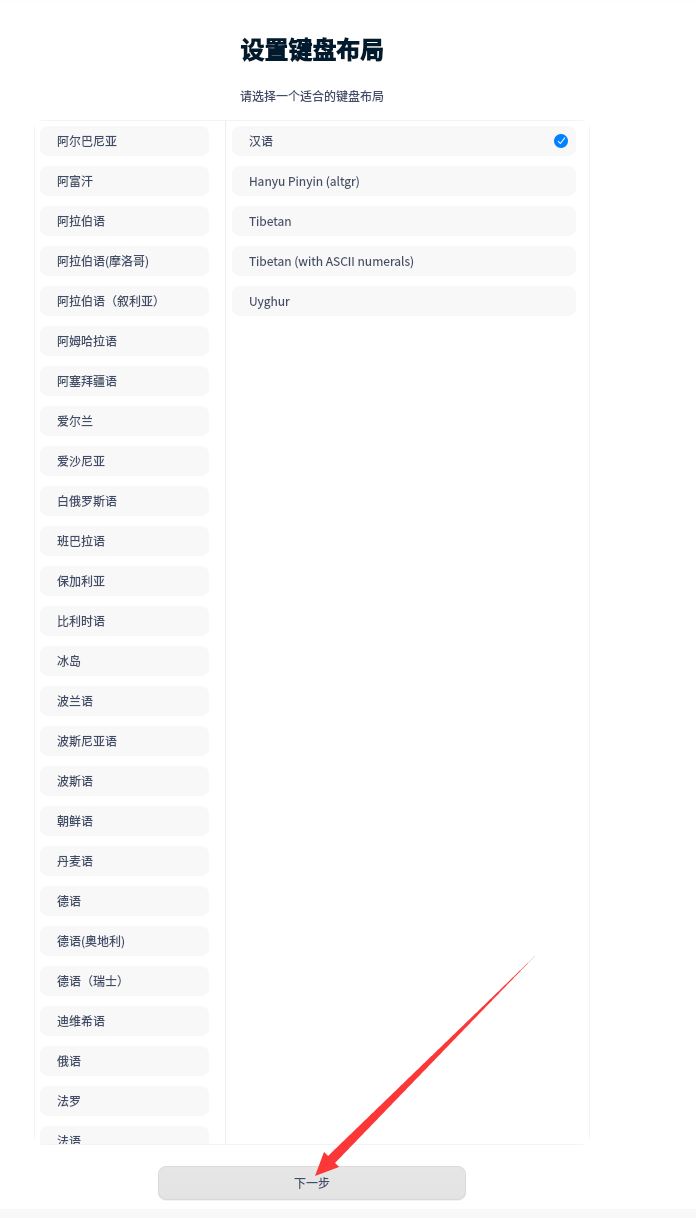
31、
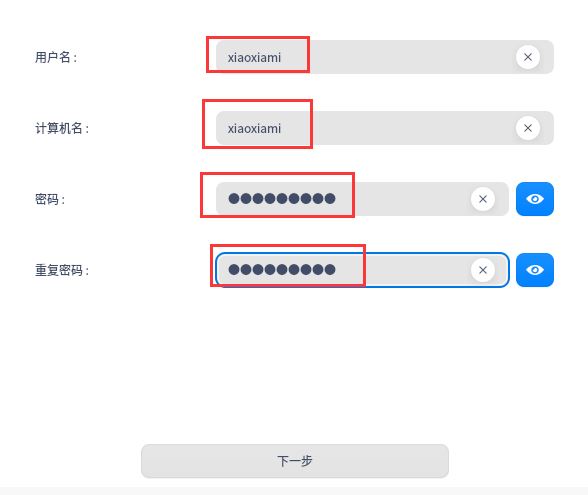
32、

33、
34、

35、一路下一步,直到完成

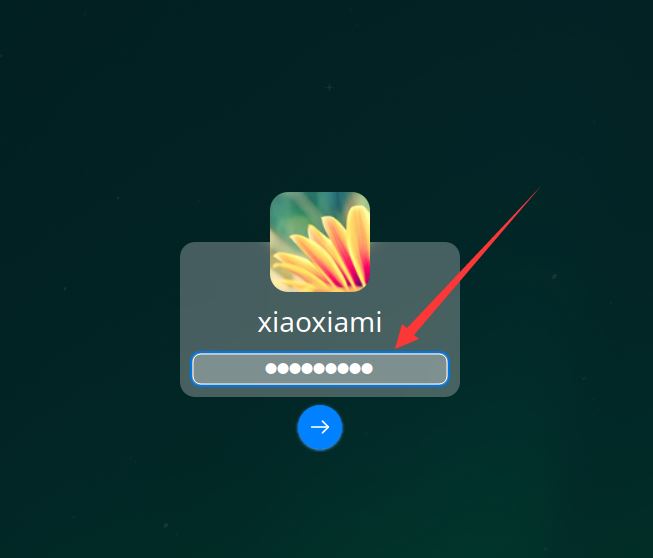
36、安裝已經完成

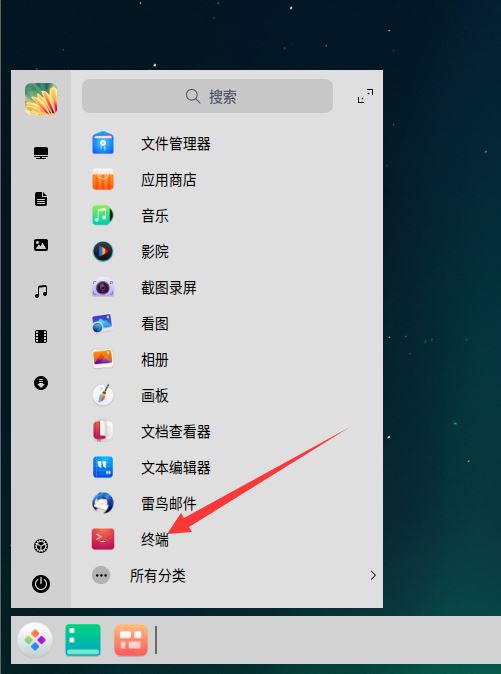
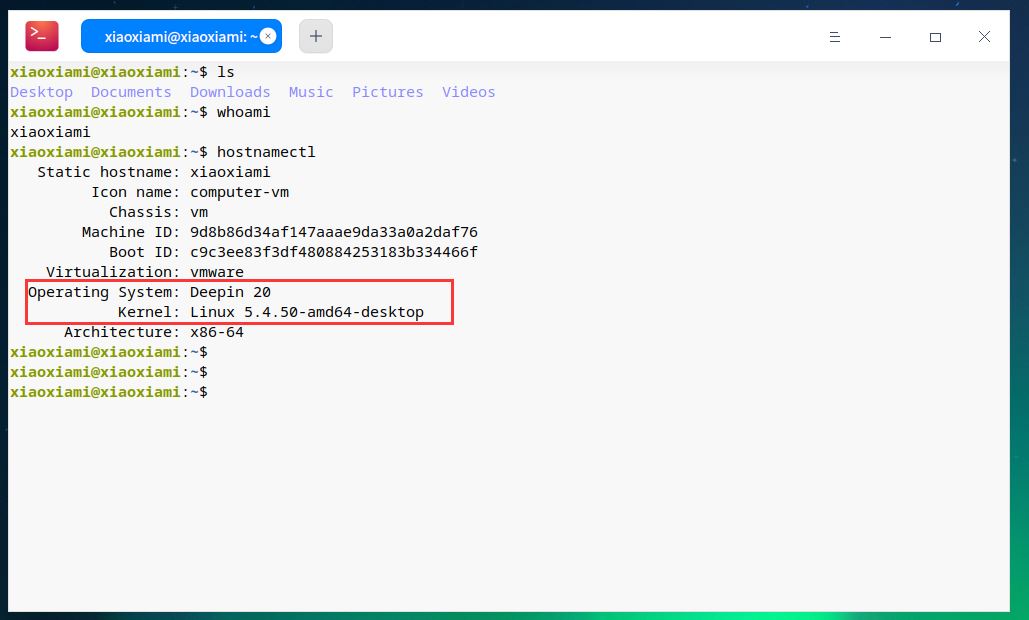
37、測試終端、檢查系統

38、
39、
40、測試網絡
xiaoxiami@xiaoxiami:~$ ifconfig | head -n 3  ## ip
ens33: flags=4163<UP,BROADCAST,RUNNING,MULTICAST>  mtu 1500
        inet 192.168.3.38  netmask 255.255.255.0  broadcast 192.168.3.255
        inet6 fe80::4794:f67e:65fc:ef81  prefixlen 64  scopeid 0x20<link>
xiaoxiami@xiaoxiami:~$ ping www.baidu.com
PING www.a.shifen.com (39.156.66.14) 56(84) bytes of data.
64 bytes from 39.156.66.14 (39.156.66.14): icmp_seq=1 ttl=51 time=11.0 ms
64 bytes from 39.156.66.14 (39.156.66.14): icmp_seq=2 ttl=51 time=10.9 ms
64 bytes from 39.156.66.14 (39.156.66.14): icmp_seq=3 ttl=51 time=11.1 ms
^C
--- www.a.shifen.com ping statistics ---
3 packets transmitted, 3 received, 0% packet loss, time 21ms
rtt min/avg/max/mdev = 10.919/11.002/11.071/0.136 ms
xiaoxiami@xiaoxiami:~$ ^C
xiaoxiami@xiaoxiami:~$ ping 192.168.3.4
PING 192.168.3.4 (192.168.3.4) 56(84) bytes of data.
64 bytes from 192.168.3.4: icmp_seq=1 ttl=128 time=0.229 ms
64 bytes from 192.168.3.4: icmp_seq=2 ttl=128 time=0.173 ms
64 bytes from 192.168.3.4: icmp_seq=3 ttl=128 time=0.186 ms
^C
--- 192.168.3.4 ping statistics ---
3 packets transmitted, 3 received, 0% packet loss, time 56ms
rtt min/avg/max/mdev = 0.173/0.196/0.229/0.023 ms
網絡連通。
到此這篇關于vmware虛擬機安裝deepin20全過程的文章就介紹到這了,更多相關vmware虛擬機安裝deepin20內容請搜索腳本之家以前的文章或繼續瀏覽下面的相關文章希望大家以后多多支持腳本之家!
